
Get into the Halloween “spirit” by making these paper circuit light-up cards. This tutorial includes a free ebook which contains (19) Halloween themed project templates. Each one comes in black and white outline which allows you to color them and get creative while learning about circuits.
Free Download – Halloween Paper Circuit Project Ebook (PDF)

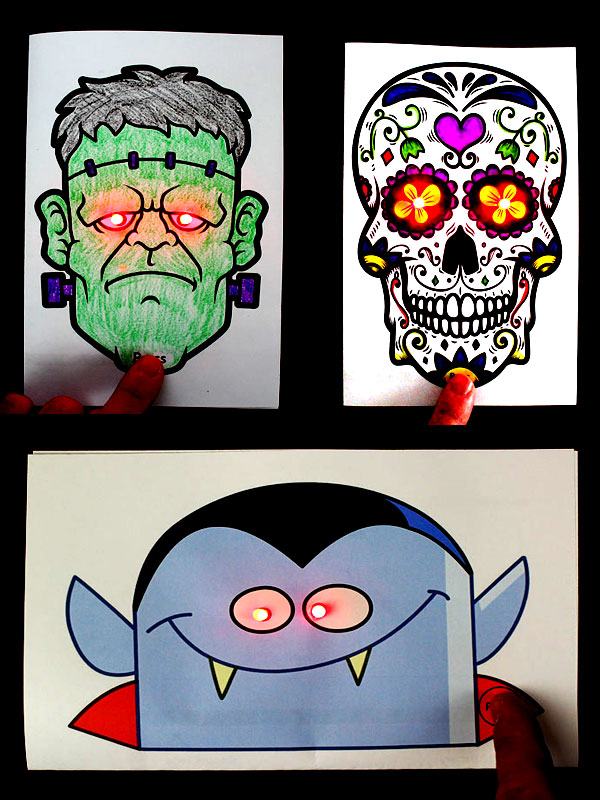
Each of these Halloween light-up cards uses copper tape, LEDs and a coin cell battery to make a circuit. This is a fun way to teach all ages the basics of electricity.

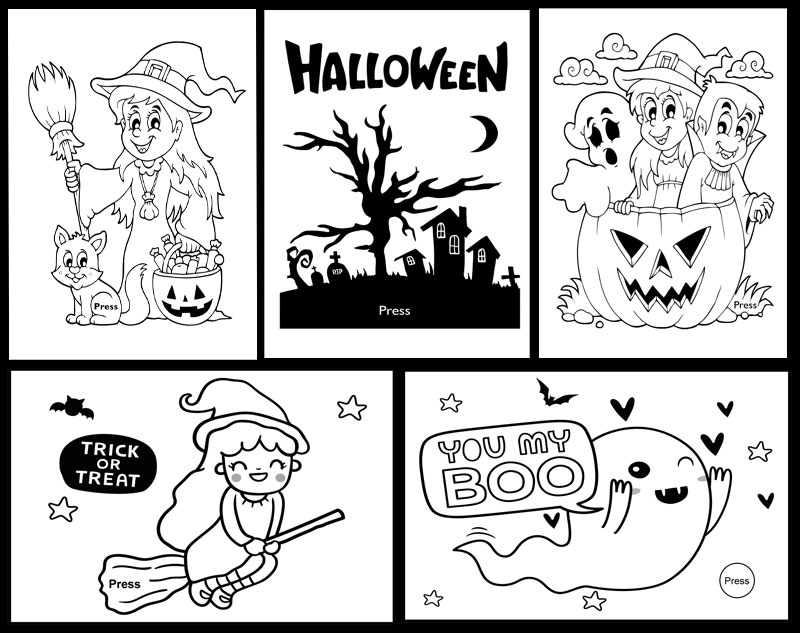
Shown below are some of the 19 project templates that are included in the free Halloween ebook which can be downloaded below.
Materials Needed
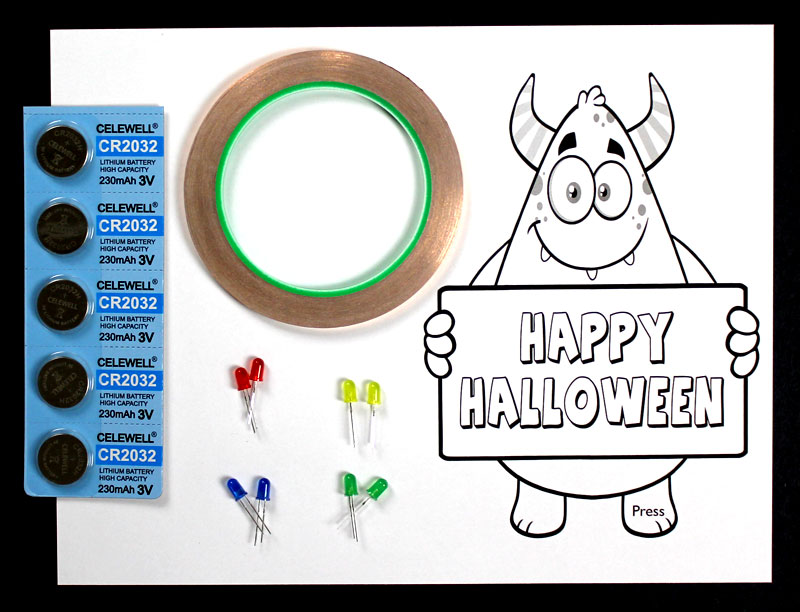
This Halloween project requires the following materials:
- LED – 5mm (Any Color)
- Copper Tape w/ Conductive Adhesive
- CR2032 Coin Cell Battery
- Halloween Paper Circuit Project Ebook (PDF)
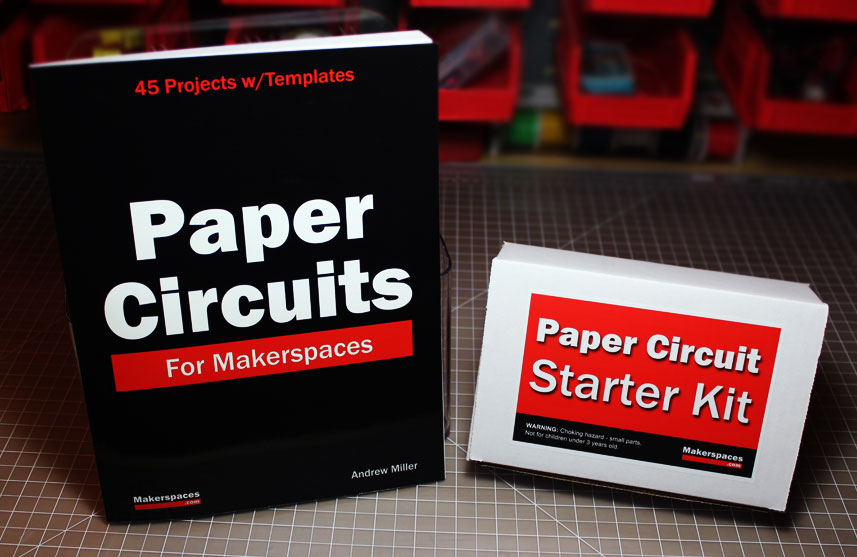
Need the materials for this project? We have a paper circuit starter kit & ebook available. The kit includes copper tape, LEDs and CR2032 batteries. Also included is a project ebook with 45 additional project templates.
Step 1 – Paper Circuit Templates
To begin this project, download the Halloween ebook using the link below:
Halloween Paper Circuit Project Ebook (PDF)
Select the template you want to use and print it out on colored or white paper. Printing on white paper will allow you to color and customize your template.

Each project template is 2 pages in length. We recommend that you use 2-sided printing if your printer has the capability. If you can’t print on both sides of the paper, you can still print on two pages and this project will still work without any issues.
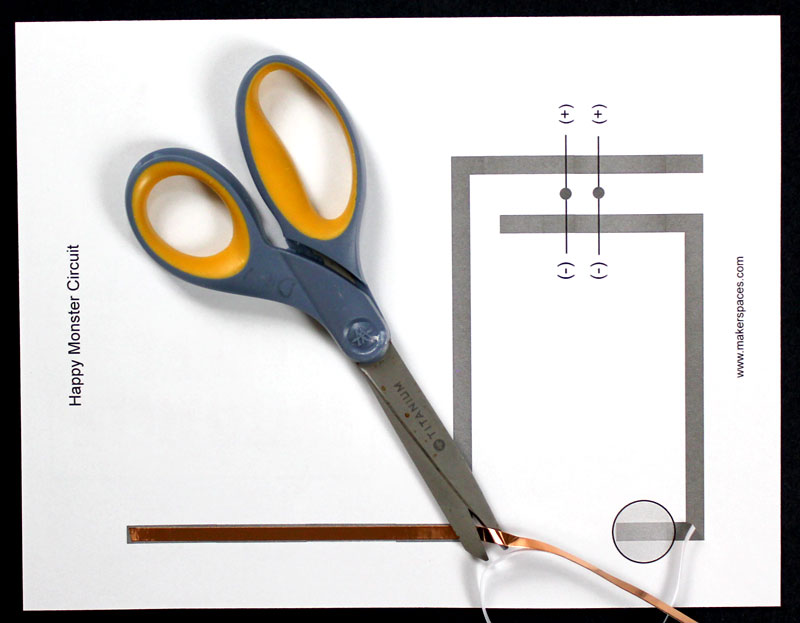
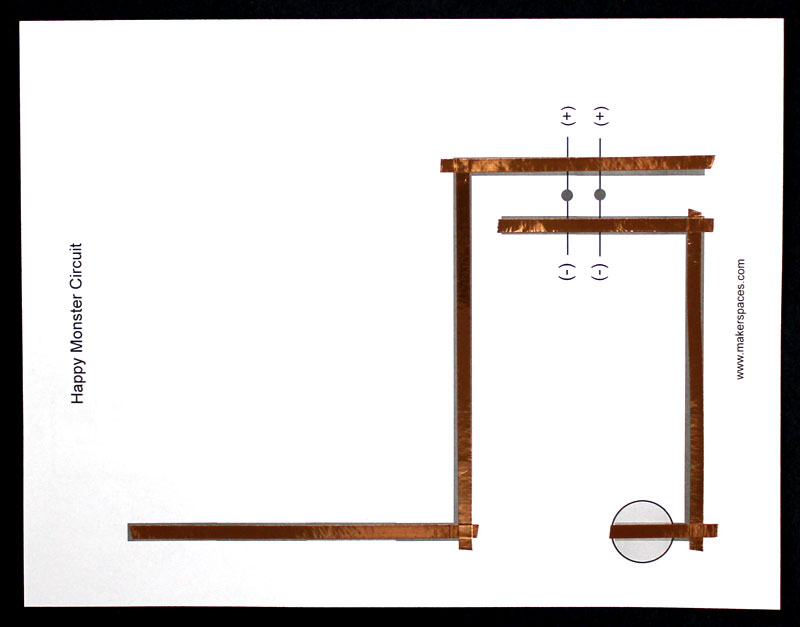
Step 2 – Apply Copper Tape
Once you have your template colored, flip it over so you can see your circuit lines. Apply copper tape to all of the lines on the template. Make sure your copper tape has conductive adhesive like the kind we use in our paper circuit starter kits. This conductive adhesive will allow you to cut the copper tape and place it on top of each other at the corners.
If your copper tape doesn’t have conductive adhesive, we recommend you apply the copper in a continuous piece. You will need to fold the copper tape at the corners.
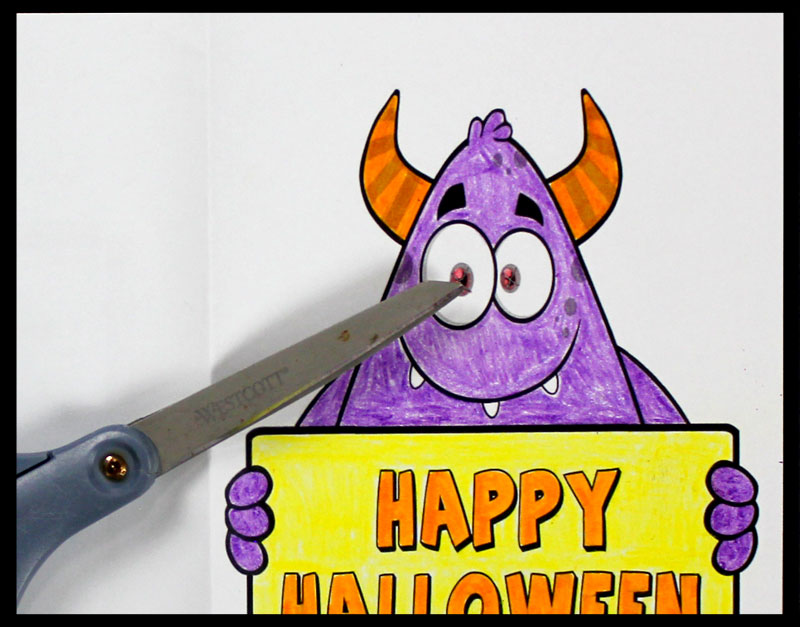
Step 3 – Fold and Cut
Flip your template over so you can see the front image. You will need to cut an “X” in the spot where the LEDs will go through. For the “Happy Monster” template, you will need to cut an X in both of the eyes.
Once this is complete, fold the template in half.
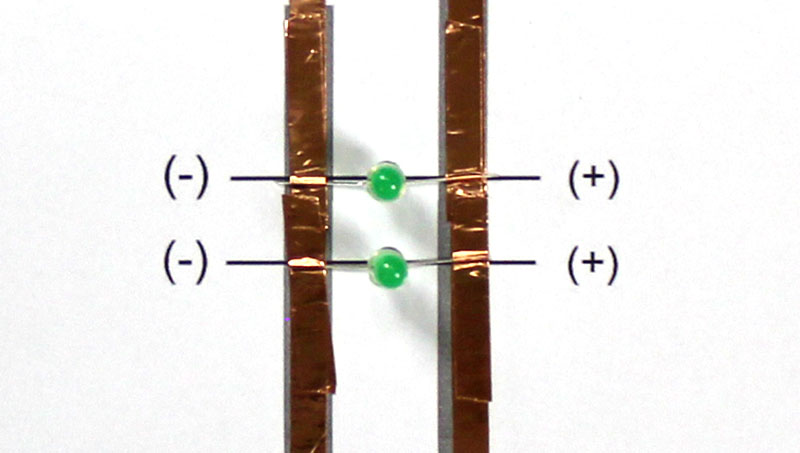
Step 4 – Mount LEDs
Now it’s time to mount your LEDs to the circuits. Before you begin, determine which leg of the LED is the long leg as this is the (+) positive side and the short leg is the negative.
Bend both legs of the LED at a 90 degree angle and place it on top of the copper tape. Make sure to place the long leg on the positive (+) side. Secure the LEDs using copper tape. Rub your finger on the connections to ensure a good contact.
Step 5 – Attach Coin Cell Battery
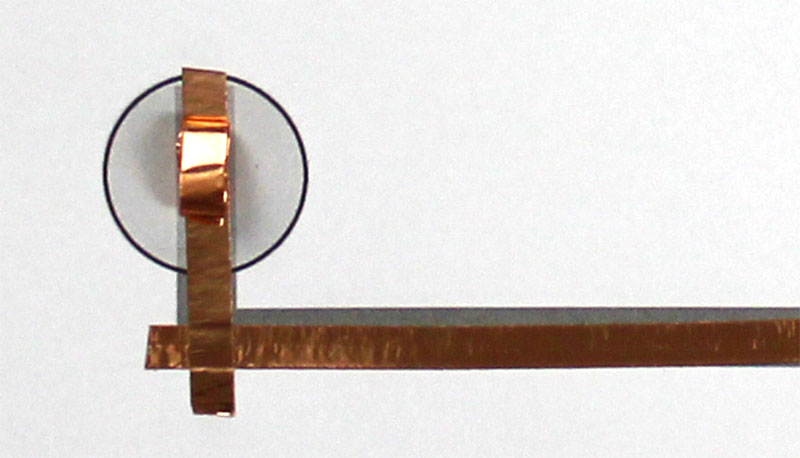
The last part of this project is to attach a CR2032 coin cell battery to the template. Begin by rolling up a short piece of conductive copper tape into a ball with the sticky side facing out. Place this on top of the copper tape inside the battery circle.
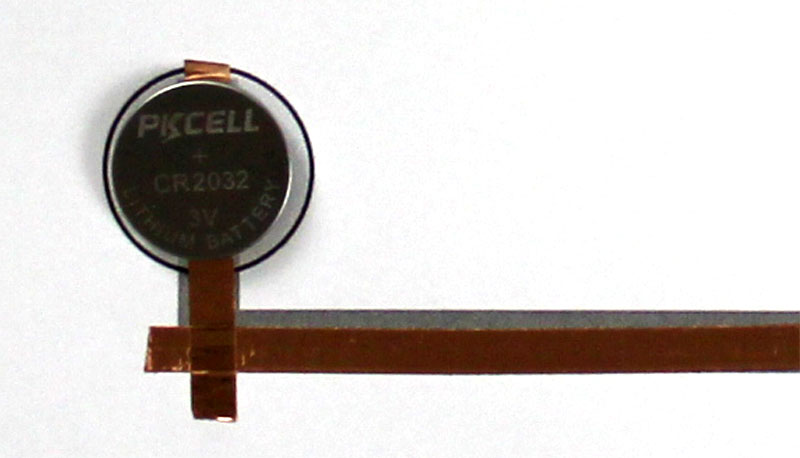
Place your CR2032 coin cell battery on top of the copper ball with the negative (-) side of the battery facing down. Press firmly to ensure good contact.
Step 6 – Test The Paper Circuit
Fold your template in half and push the LEDs through the “X” cuts you made earlier. Push down on the area marked “Press” to test your circuit.
If for some reason your template doesn’t light up, try the following:
- Make sure your battery works by connecting an LED directly to the battery. This is also a good way to test that your LEDs work.
- Ensure the battery (-) is facing down on the template.
- Verify that the long leg of your LED is on the side marked (+) on the template. Rub all connections to ensure good solid contact.

Looking For More Projects?
If you’re looking for more Halloween projects and templates, check out the following links:
13 Halloween Projects w/ Free Ebook
6 Halloween Paper Circuit Projects
Show Us Your Project
Follow us on Twitter at @Makerspaces_com and tweet us if you made this or another project. We love seeing your makerspaces and the projects you’re working on.