
Project Time: 15 Minutes
Mother’s Day is celebrated on the second Sunday of May every year. It’s a great time to say thanks and show your mom how much you love her.
In honor of Mother’s Day and in the spirit of being a maker, we decided to create a brand new pop up card that lights up.
This project is an awesome way to show your mom your amazing maker skills while creating her a custom card that you can’t buy at a store.
Happy Mother’s Day to all the maker moms out there !!

Materials Needed
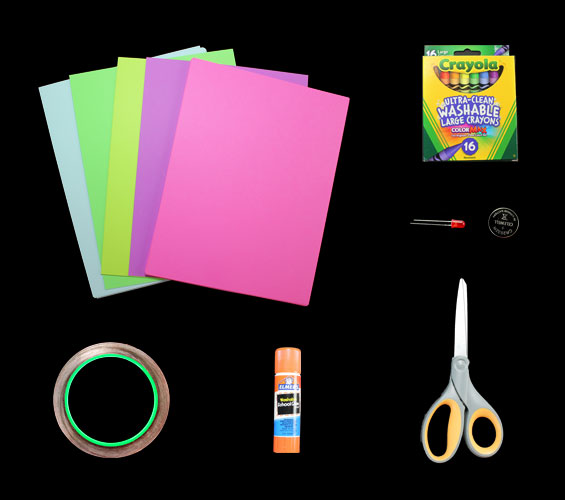
- (1) LED – Any Color
- (1) Coin Cell Battery
- Copper Tape w/ Conductive Adhesive
- Cardstock Paper
- Crayons or Markers
- Scissors
- Glue Stick
- Project Template – PDF
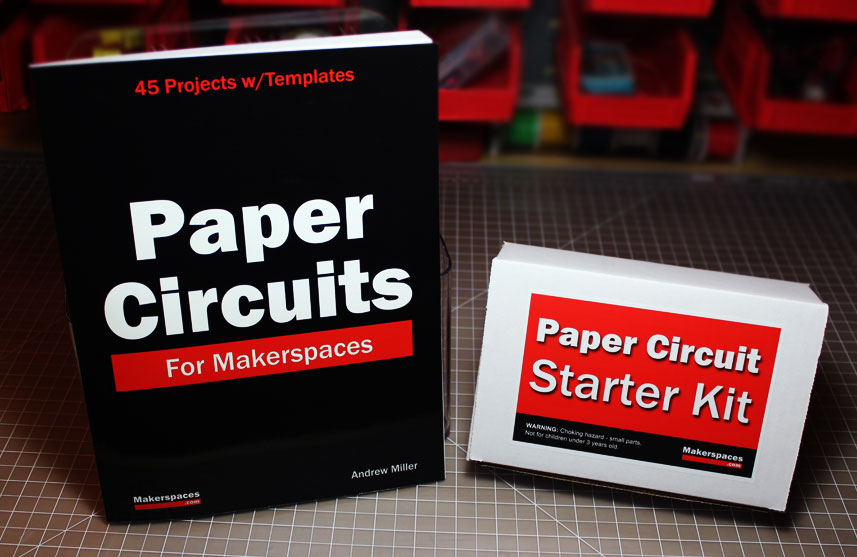
Project Kit Available
If you need the materials for this project, we do have a paper circuit starter kit & ebook available. The kit includes copper tape, LEDs and batteries for 10 projects. Also included is a project ebook with 45 project templates.
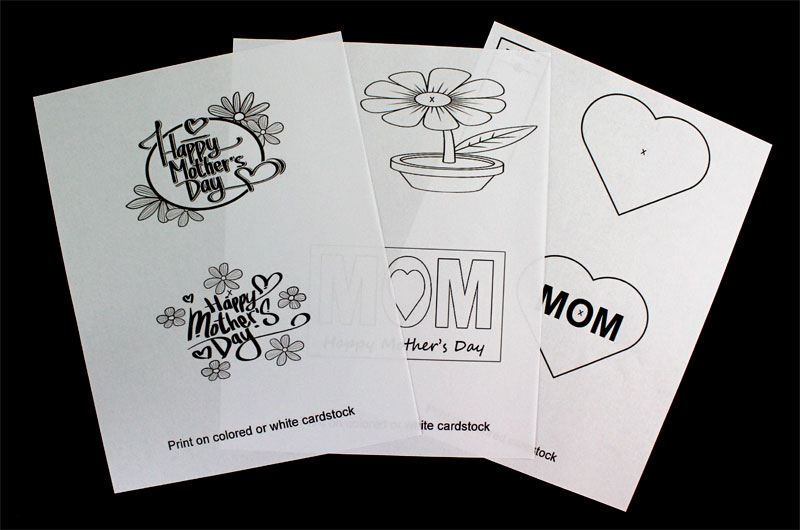
Step 1 – Print The Templates
Download and print the FREE Mother’s Day project templates using the link below.
Mother’s Day Project Template (PDF)
We recommend printing page 1 on regular printer paper. This is the interior of the card and is where you can write a custom Mother’s Day message.
The other templates need some rigidity so it’s best to print pages 2-4 on colored or white cardstock.
Step 2 – Cut The Pop Up Card
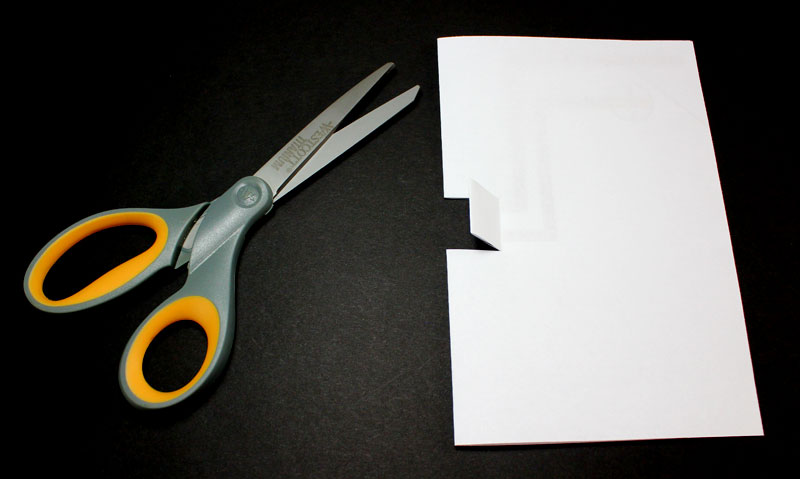
Print page 1 on regular white printer paper. Using scissors or a slide cutter, cut the black outline away from the template.

Fold the template in half and then cut the two black lines in the middle. Once you make the two cuts, fold the tab over to make a straight line and then fold the tab back.
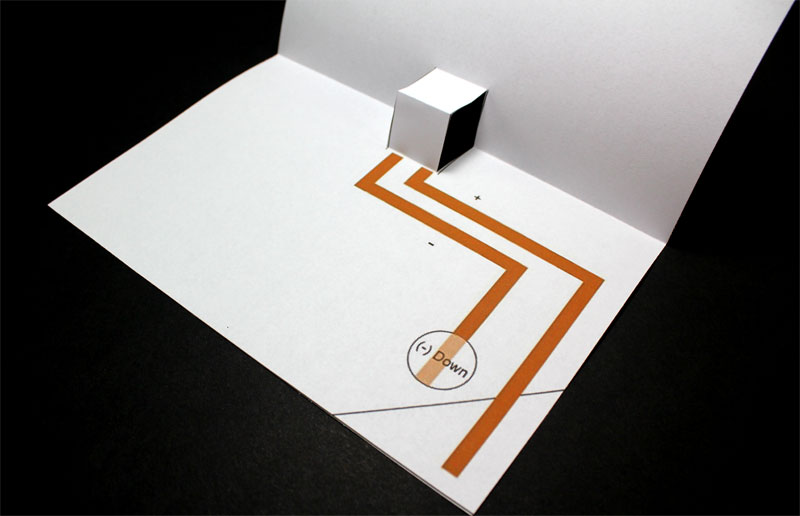
Open the template and pull the tab toward you. Bend the corner so it’s a 90 degree angle. Fold the template closed and rub your hand over the folded edge to make sure everything lays flat. Test that the hinge works by opening and closing the template.
Step 3 – Glue The Template
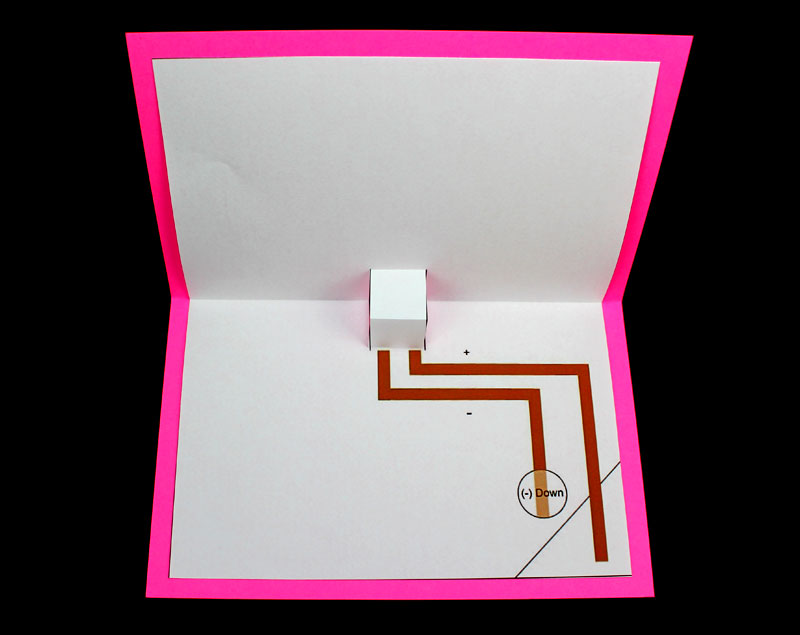
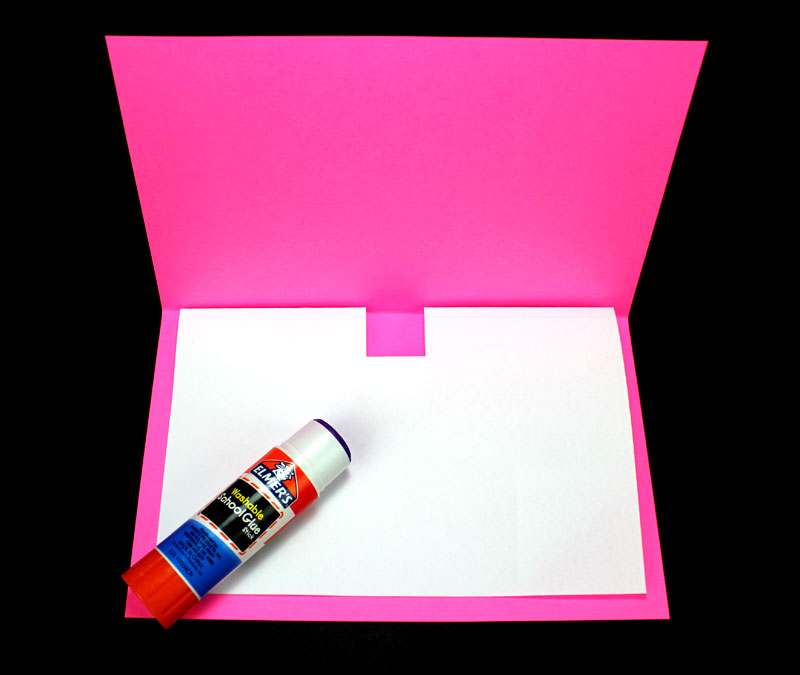
Select a color cardstock you want for your Mother’s Day pop up card. Keep it the standard 8.5 x 11 and don’t cut it. Fold the cardstock (pink shown below) in half. Insert the template that you cut into the cardstock and center it.
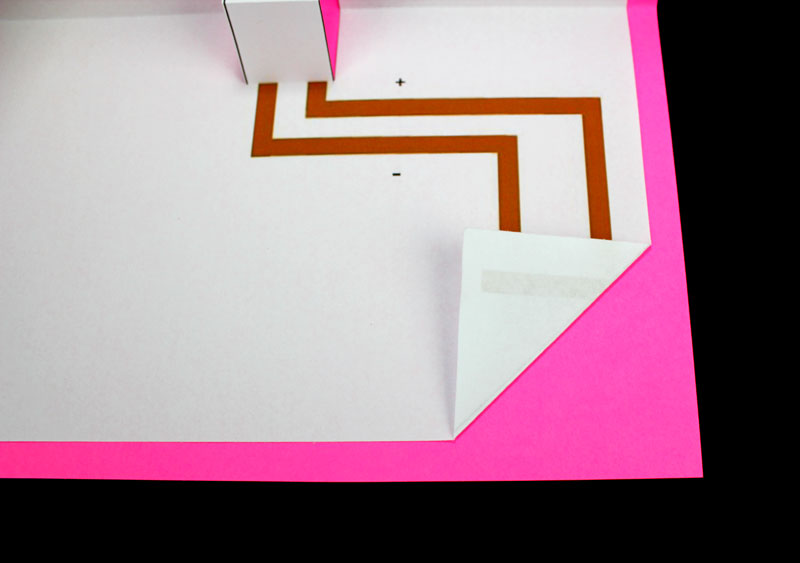
Fold the bottom right corner along the diagonal line.
Fold the top half of the template down and apply glue to the entire half. Make sure the left and right are centered and then fold the pink cardstock. Rub your hand over the card to smooth down the template and glue.
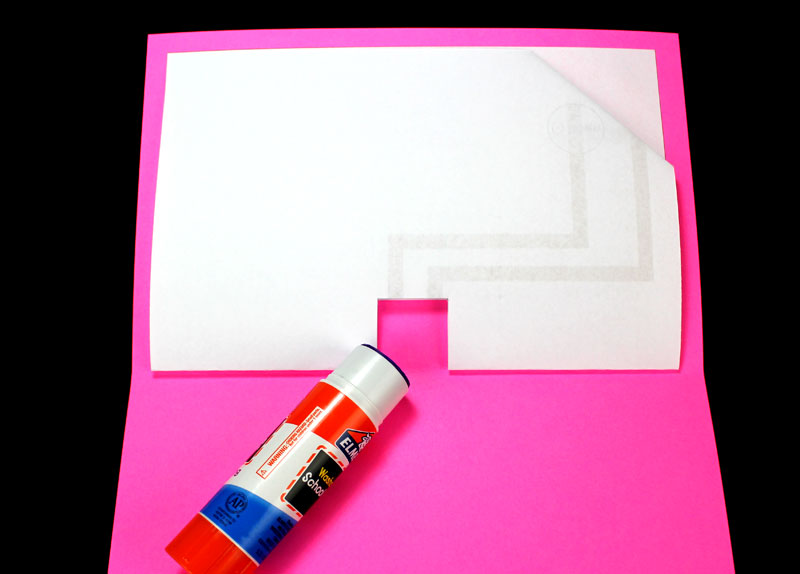
Open the card and then fold over the bottom half of the white template. Make sure to keep the corner folded because NO glue goes on the corner flap. Glue the remaining portion of the template and smooth it down using your hand. Fold the card closed to make sure everything looks good.
Step 4 – Apply Copper Tape
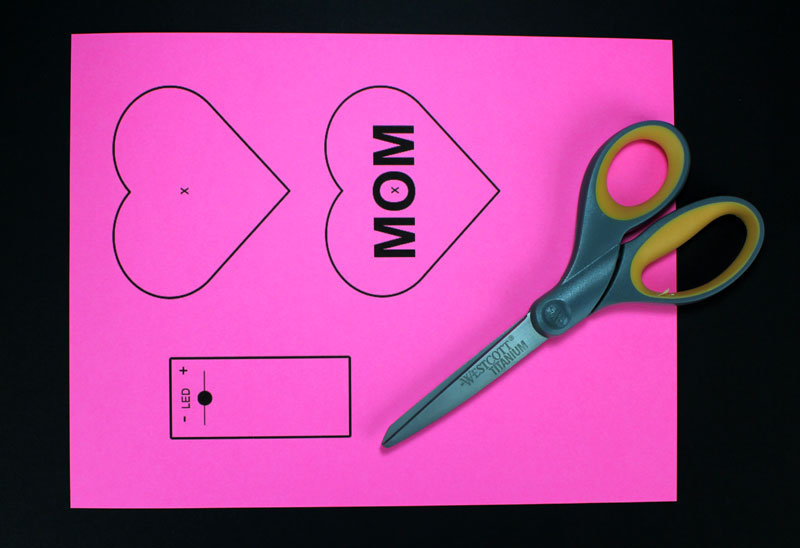
Print page 2 on white or colored cardstock. Using scissors, cut out the rectangle shaped LED mount.
Glue the LED mount to the pop out tab we created earlier.
Fold the card to make sure every bends correctly.
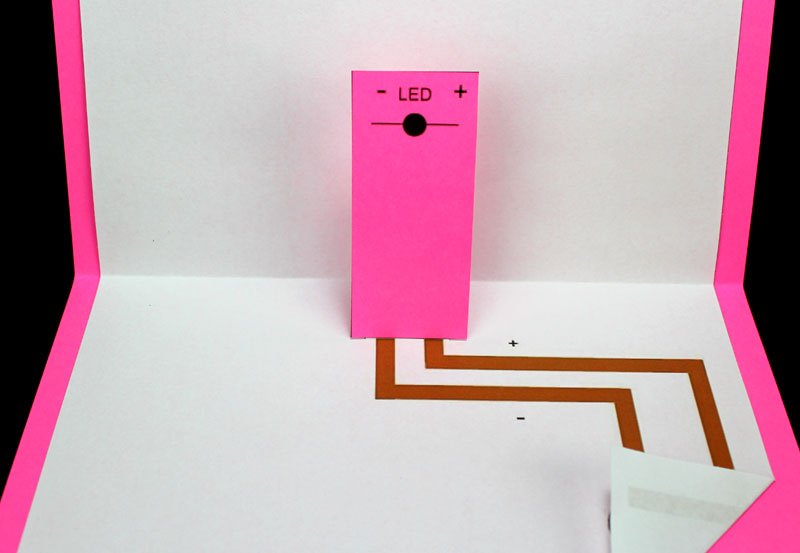
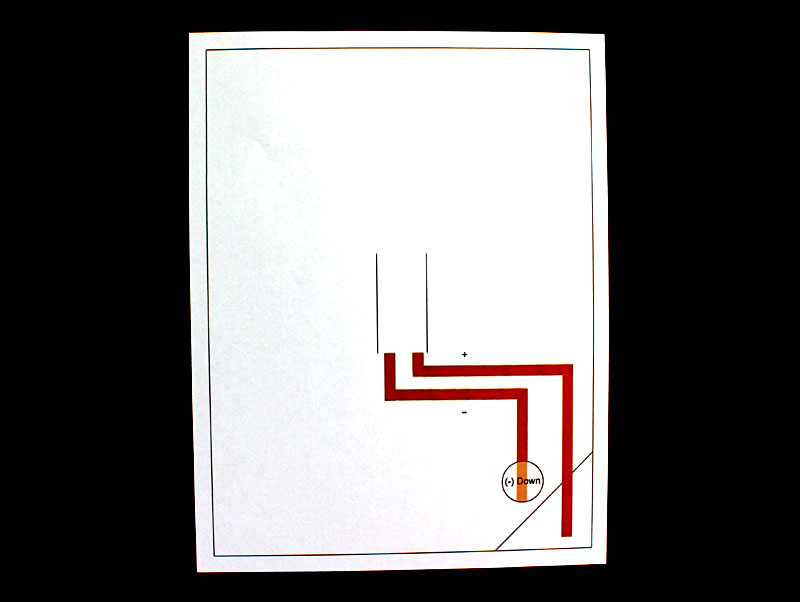
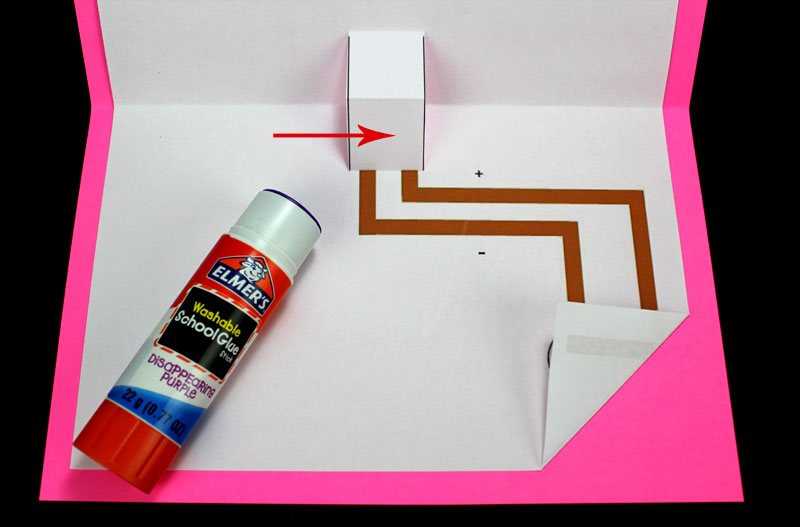
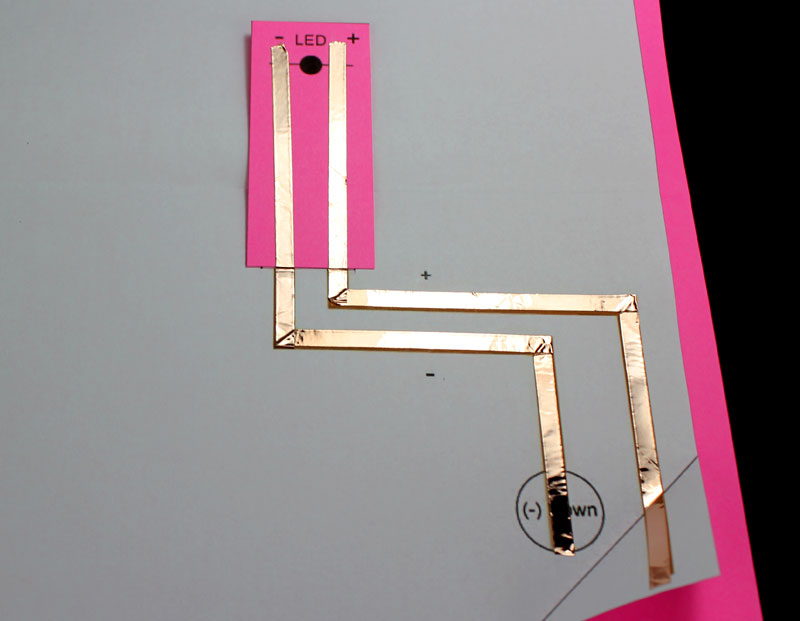
Apply the conductive copper tape to the brown lines on the template. We highly recommend using a continuous strip of copper versus cutting it into strips. Begin by applying the tape in one direction and stop at the corner.
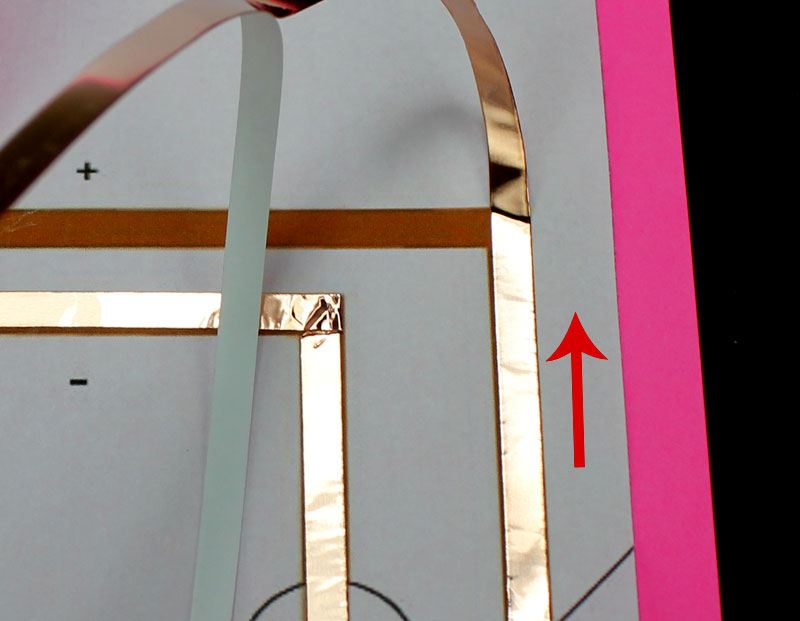
Next, you will need to bend the copper at a 45 degree angle in the opposite direction that you intend to go.
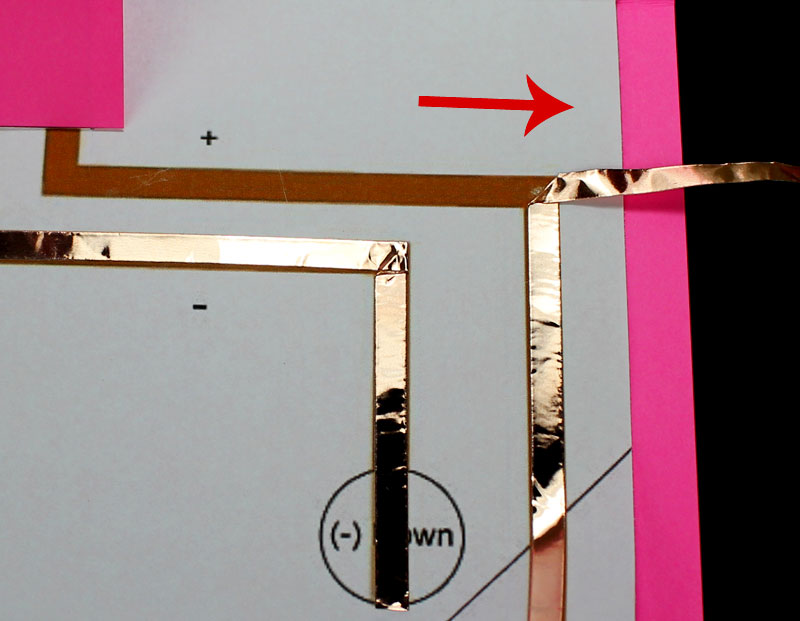
The final step is to bend the copper tape back in the direction of your circuit. Smooth the copper with your finger.
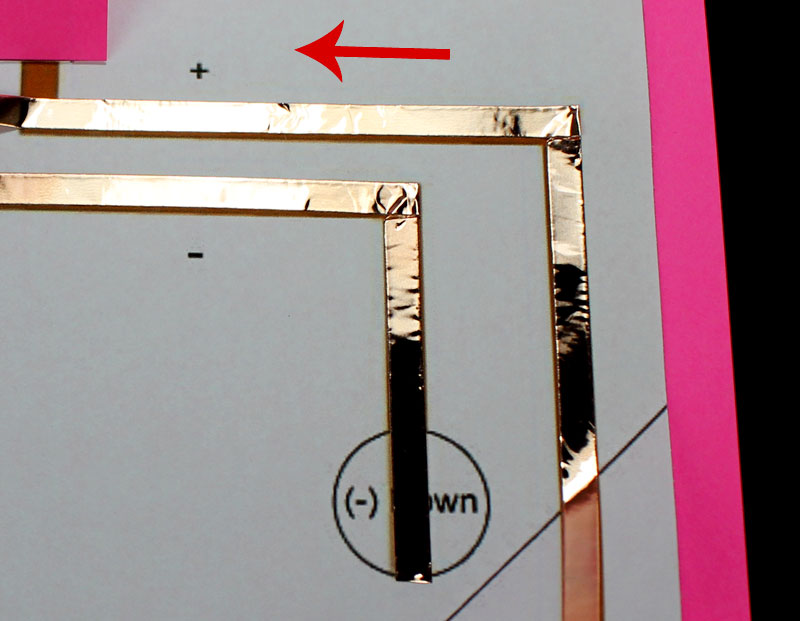
Apply the copper tape in one continuous strip up the pink LED mount that we glued earlier.
Step 5 – Mount Coin Cell Battery
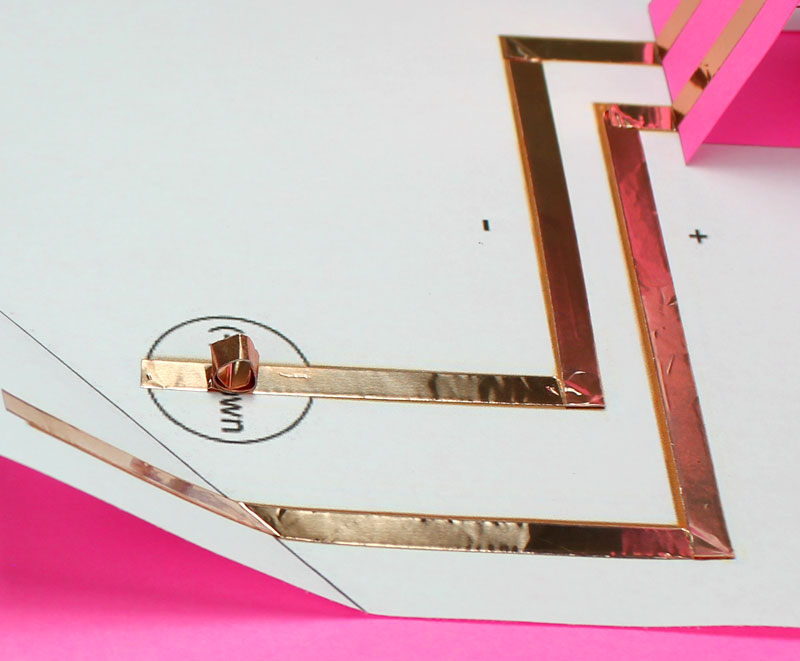
Roll up a small piece of copper tape ensuring the sticky side is facing out. Stick the roll to the copper tape inside the battery circle. Make sure you are using copper tape with conductive adhesive. This will ensure there are no conductivity issues. If you need the correct materials, we do sell a paper circuit kit.
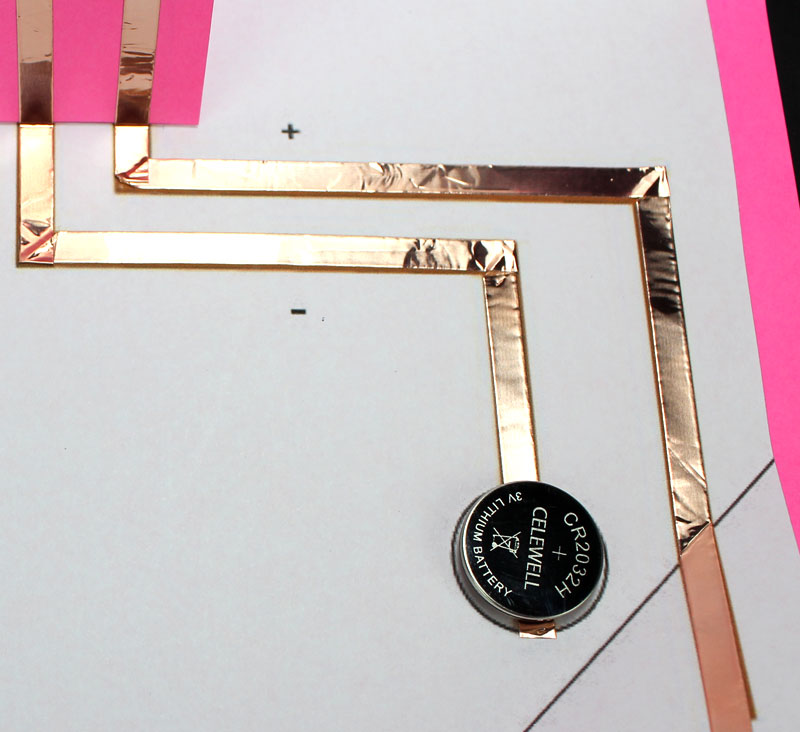
Place a CR2032 coin cell battery on top of the roll of copper tape. Make sure the negative (-) side is facing DOWN.
Step 6 – Mount The LED
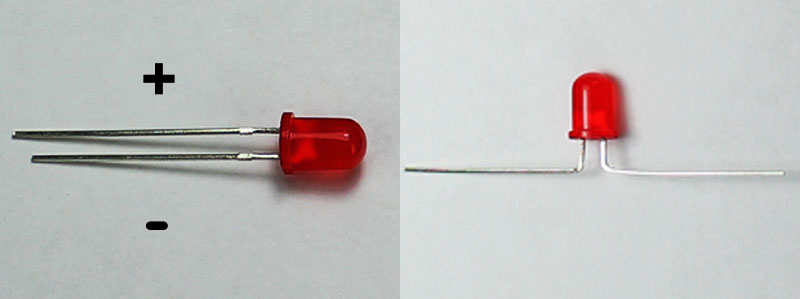
Now it’s time to add the LED to the circuit. To begin, you will need to bend both legs of the LEDs at a 90 degree angle.
Before you bend the legs, make sure to note which leg is the longest. The LONG leg is positive (+) and the SHORT leg is negative.
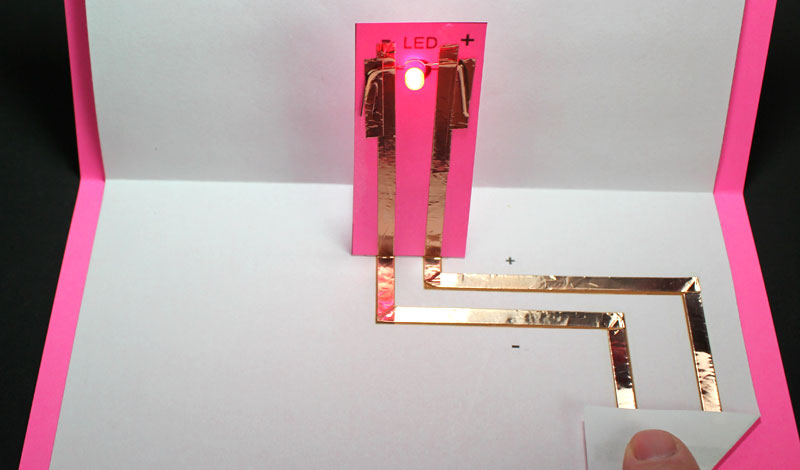
Tape the legs to the correct side of the copper tape. The positive side is marked with plus sign on the right.
Rub the copper and legs really well to ensure they are making solid contact. Flip the corner flap and verify the LED lights up.
Step 7 – Cut Out The Pop-Up
Print pages 2-4 on white or colored cardstock. Cut out the design you would like to use for your card. You can also design your own on blank white paper.

Color your design using Crayons or markers. Make sure to cut a small “X” in the center for the LED to fit through.

Push your pop-up design over the LED and verify it still lights and folds correctly.
The last thing you can do is add a special message for you mom on the white section of the template.
Other Templates Included:

Show Us Your Project
Follow us on Twitter at @Makerspaces_com and tweet us if you made this or another project. We love seeing your makerspaces and the creations you’re making.
If you’re looking for more paper circuit projects, please check out our ebook which has 45 project templates.