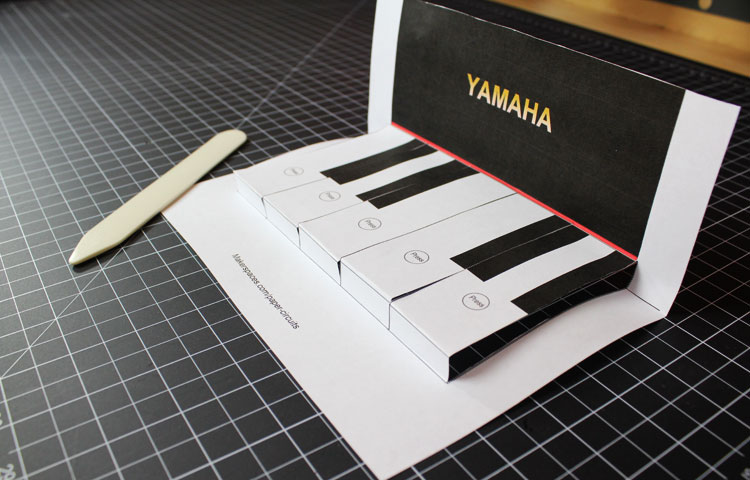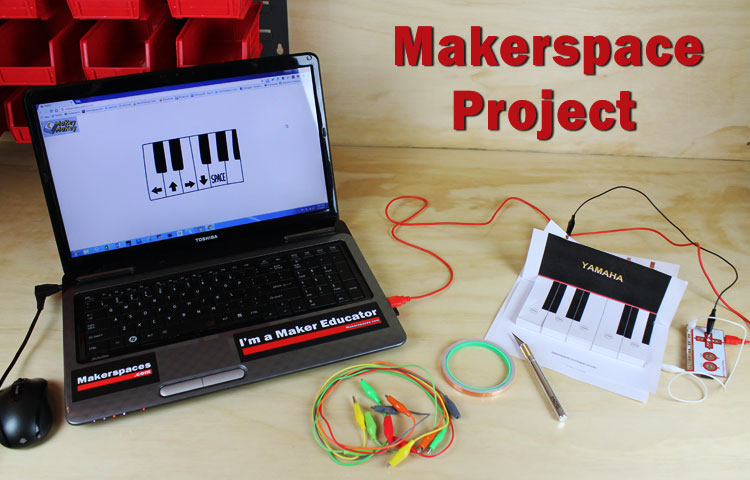
In this makerspace project, we’re going to show you how to make a popup paper piano that connects to your computer using Makey Makey.
Learning how to play the piano however, is up to you!
This project comes from our paper circuits ebook which contains over 45 printable paper circuit templates. These make great makerspace projects.
Making & exploring the #makeymakeypiano @Makerspaces_com @makeymakey #jusdshares #ClosetheGap #leopardgirlsrock! pic.twitter.com/aQws3m8EZB
— Julia Quinto (@mrsjquinto) May 24, 2017
Step 1 – Makey Makey Project Templates
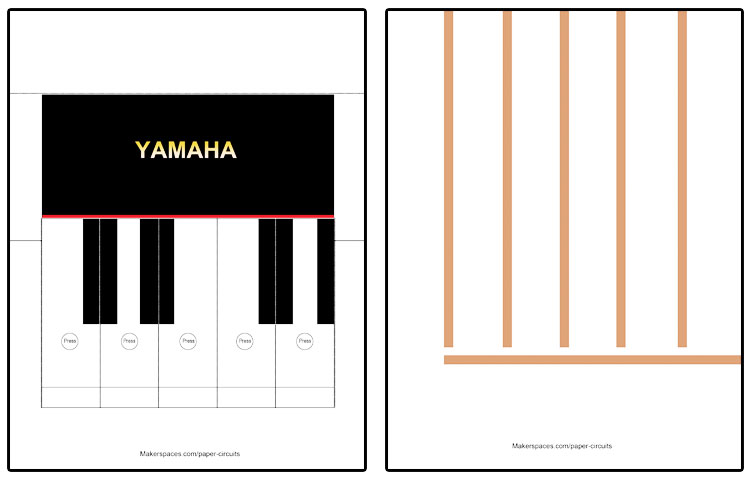
To begin, you will need to download & print the Makey Makey popup piano templates that are shown below.
Step 2 – Project Materials
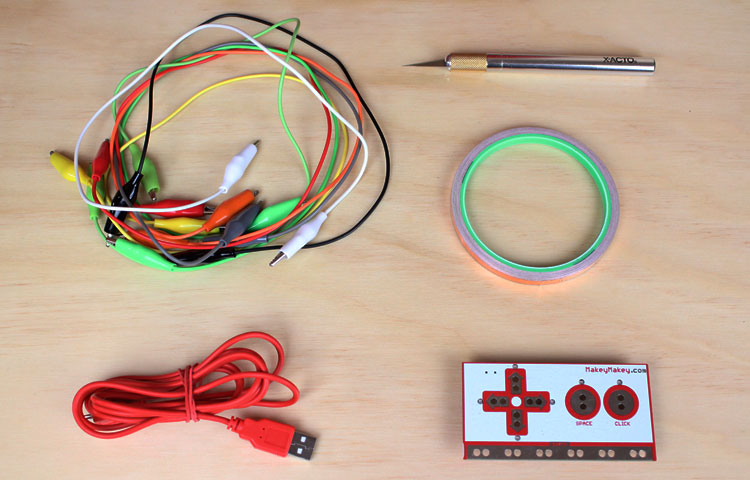
Once you have the templates printed, you will need to get the following materials:
- Makey Makey board w/ USB
- Alligator clips (comes with Makey Makey)
- Conductive copper tape
- Xacto knife or similiar
Note – We do sell a paper circuits kit that contains enough materials for 10 students/makers. You will however need to purchase a Makey Makey separately.
Step 3 – Apply Copper Tape To Template
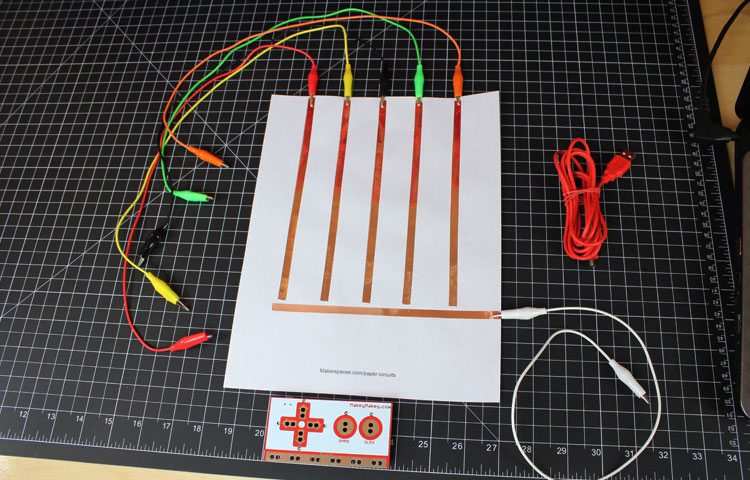
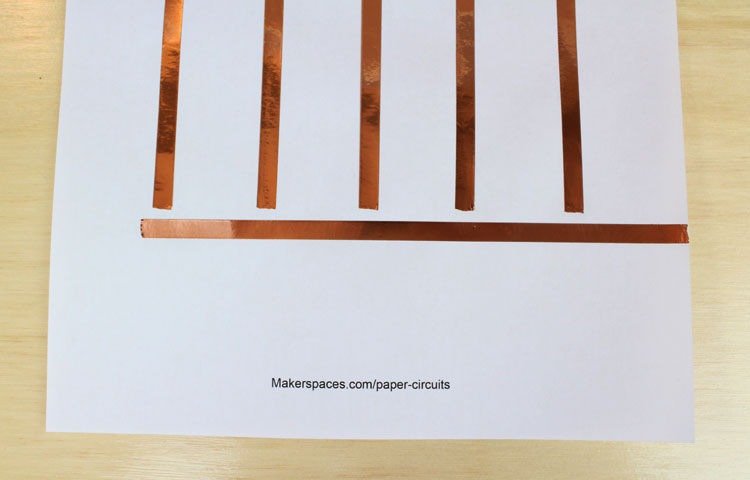
Ok it’s time to create an electrical circuit in order for this piano to work. Take your conductive copper tape and apply it to the trace lines on the template as shown.
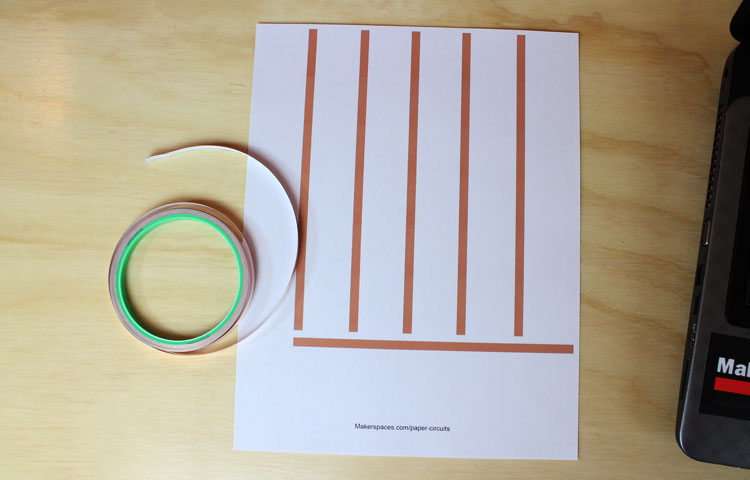
Make sure the copper is smoothed out flat along the trace lines.
Step 4 – Cut & Fold The Piano Popup
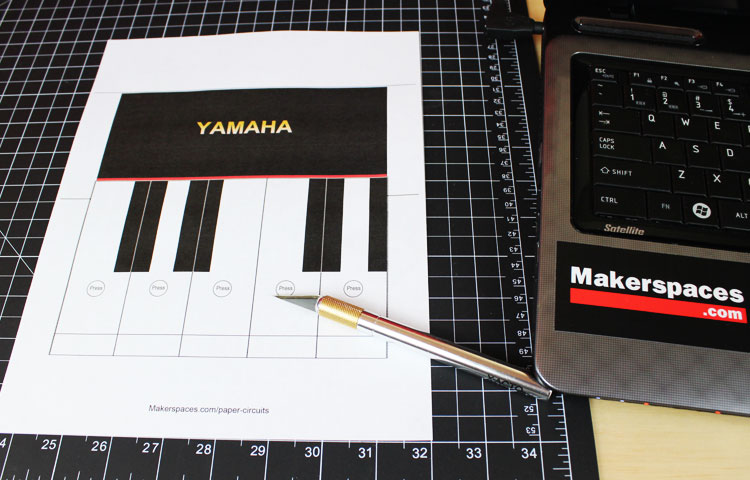
Now it’s time to create the popup portion of this piano. In order to create working keys you will need to use your Xacto knife to cut along the dotted lines on the template. The solid lines will need to be folded as shown. We like using a scoring tool for making precise folds but it’s not required.
Step 5 – Add Copper Contacts To Keys
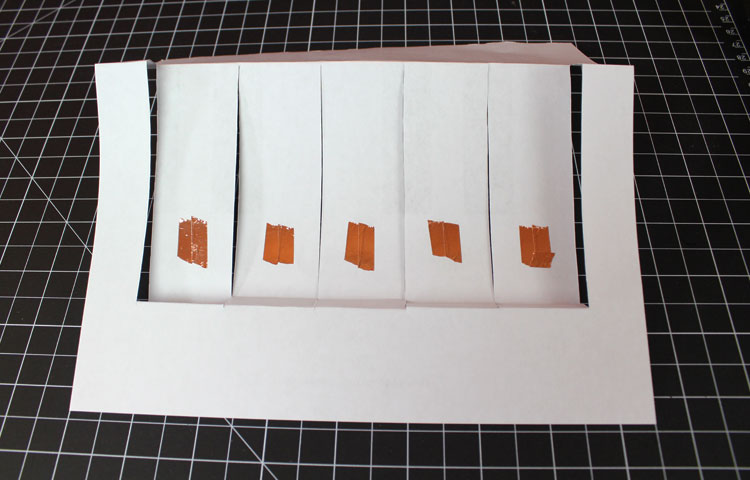
We need to add copper contacts to the bottom of the keys in order for them to work properly. When you press down on the key, the copper contact touches the copper trace below and completes the circuit. Flip the keyboard over as shown and place a few strips of copper on each key.
Step 6 – Wire Up The Template
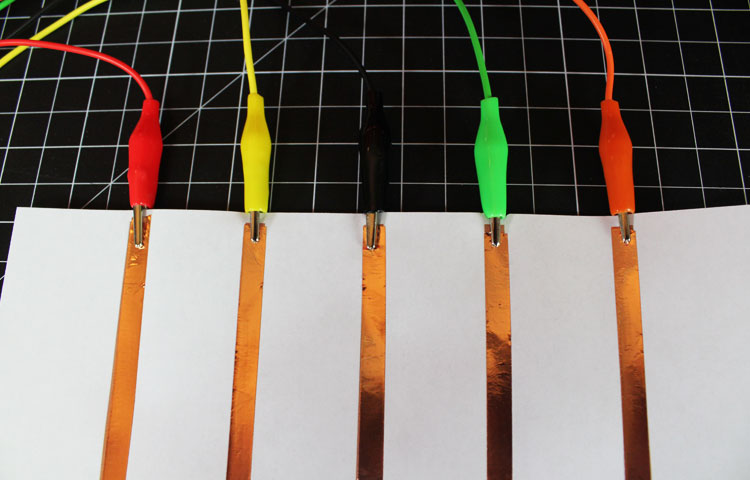
Connect each alligator clip to the end of each copper trace line. It doesn’t matter which color you use for each connection.
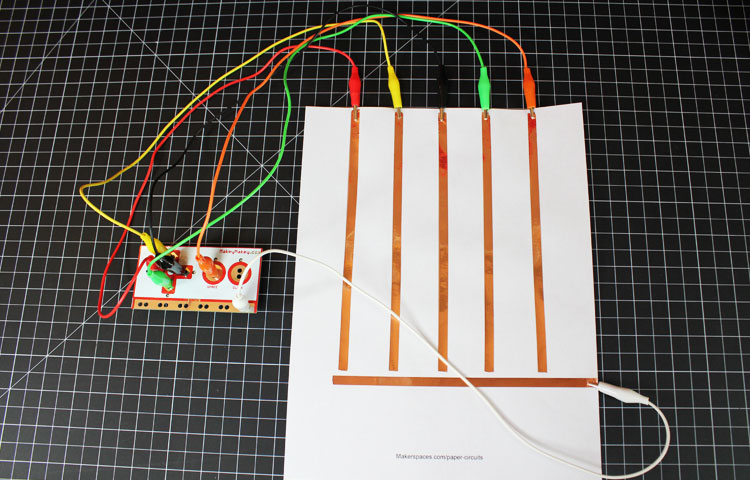
Now it’s time to connect the alligator clips to the Makey Makey board.
NOTE: You need to make sure you connect your alligator clips clockwise on the Makey Makey. In this example, we have the far left color on the copper as Red, Yellow, Black, etc. Make sure you connect your far left color to the LEFT arrow on the Makey Makey and work clockwise.
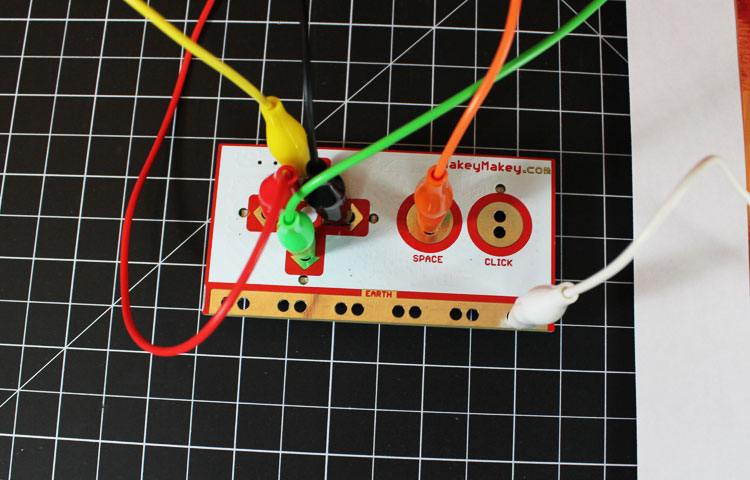
Don’t forget to connect the horizontal copper trace to GROUND on the Makey Makey. This is shown below using the WHITE alligator clip. You can connect to any of the GROUND holes as they are all the same on the Makey Makey.
Step 7 – Connect The Makey Makey
Take the USB cable that is supplied with the Makey Makey and connect one end to the Makey port and other to your computer’s USB port.
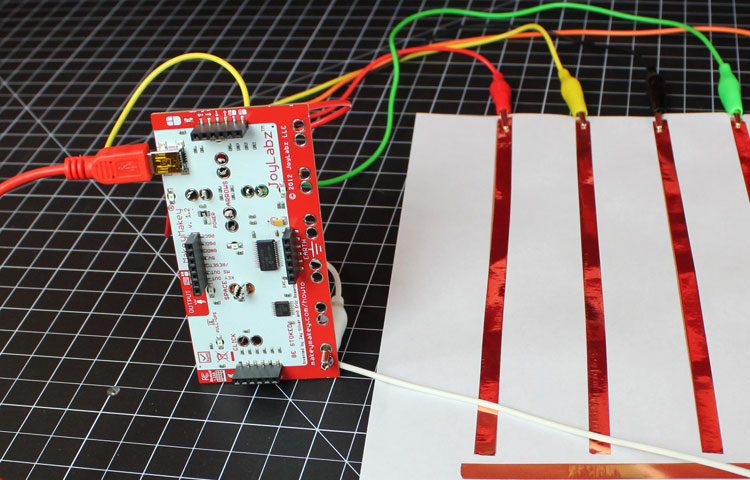
Step 8 – Let’s Make Some Music!
Go ahead and place the popup piano section directly over the copper trace template. Make sure the copper contacts on the keys line up with the gaps in the copper trace below.
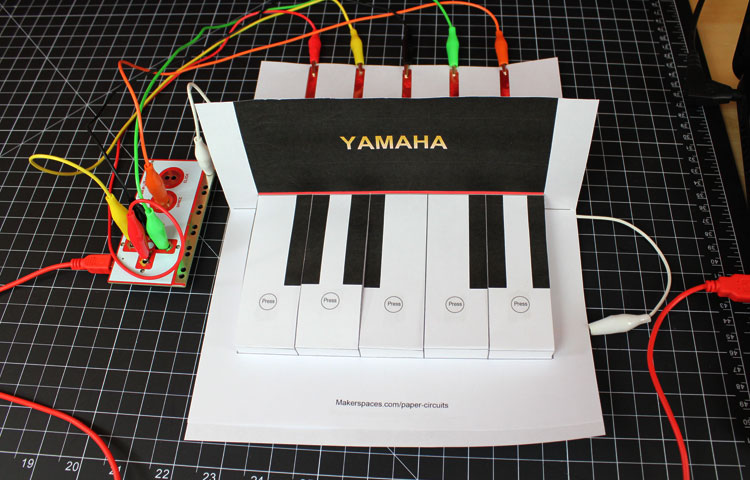
Now that everything is connected and in place, we are ready to interface with the Makey Makey website. Go to www.makeymakey.com/piano and this should take you directly to the piano application.
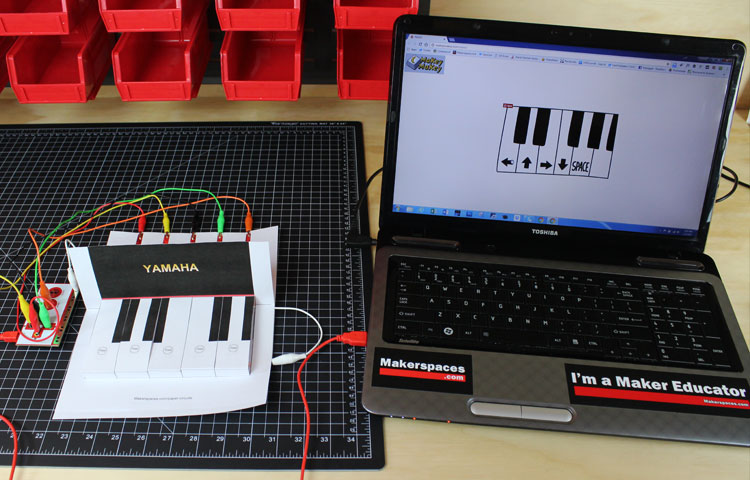
The only thing left to do at this point is to press down on the paper keys, make some music and impress your friends.
Share Your Makerspace Projects
We love seeing what makers are working on. If you made this project or something else, tweet us @Makerspaces_com and show us!
Kids at my #makered camp loved making the @makeymakey piano –https://t.co/zWV9pisBVy thanks @Makerspaces_com pic.twitter.com/XBTcTwLIPN
— JackieGerstein Ed.D. (@jackiegerstein) July 21, 2017
Want More Makerspace or Paper Circuit Projects?
Check out our ebook which contains over 45 printable paper circuit project templates.
Have fun !

