
Project Time: 30-45 minutes
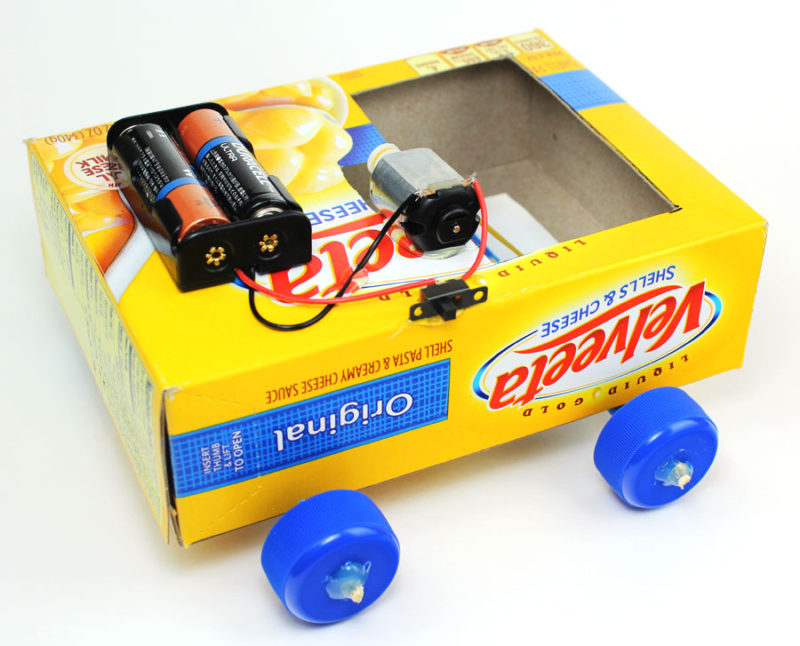
Learn how to create this simple battery powered DIY car using repurposed and recycled materials.
These projects are a great way to use your creativity to come up with unique designs.
You will be using a DC motor, AA batteries and a switch to create a simple circuit that powers your creation.
Materials Needed
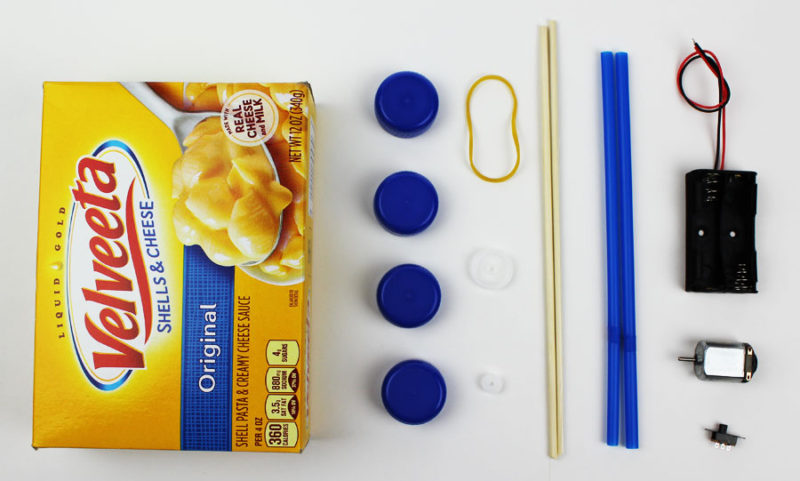
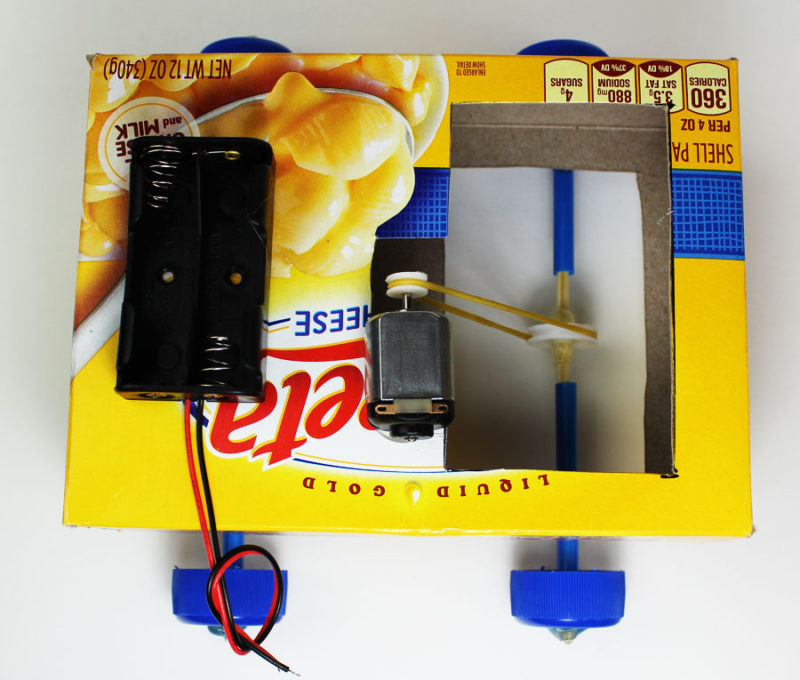
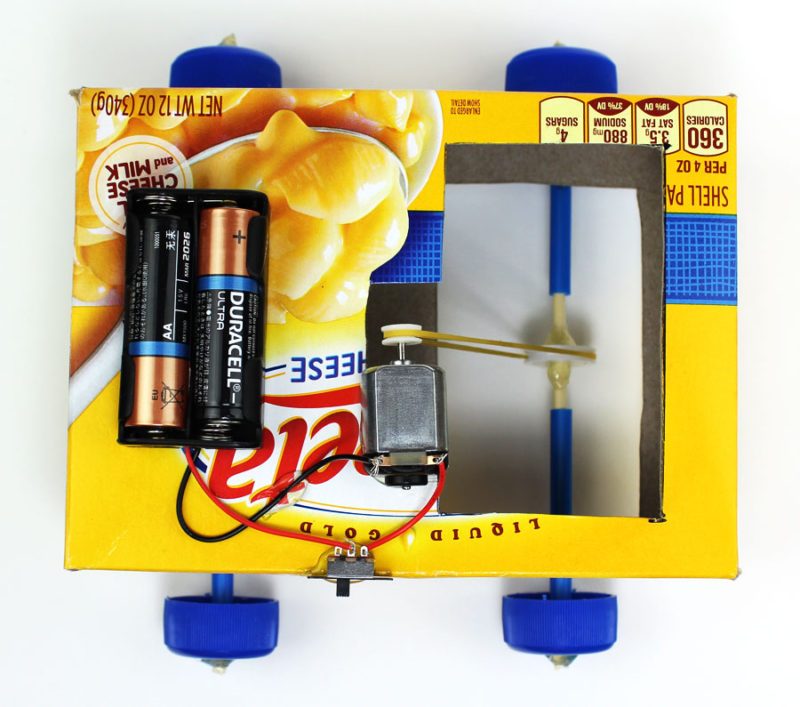
For this project, we’re going to be using an old mac and cheese box for the body of the car. You can also use a wide variety of materials including flat cardboard, bottles and containers.

In addition to the box you will need the following materials for this build:
- Bottle Caps
- Wooden Skewers/Dowels
- Straws
- AA Battery Holder
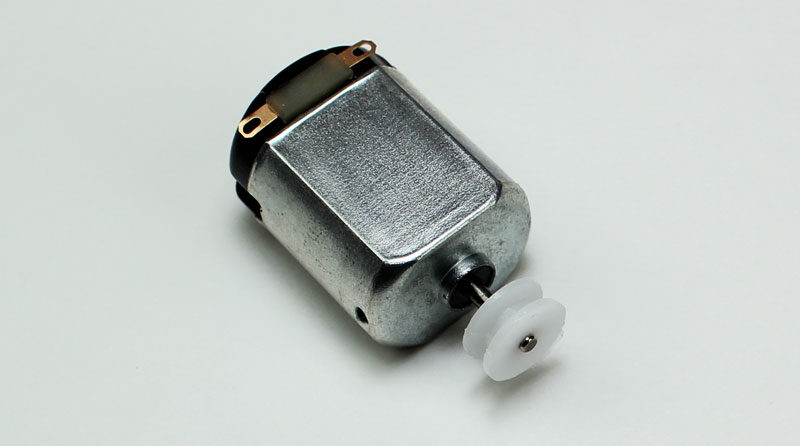
- DC Motor
- Switch
- Plastic Pulleys (shown in white)
- Rubber Band
Tools Needed
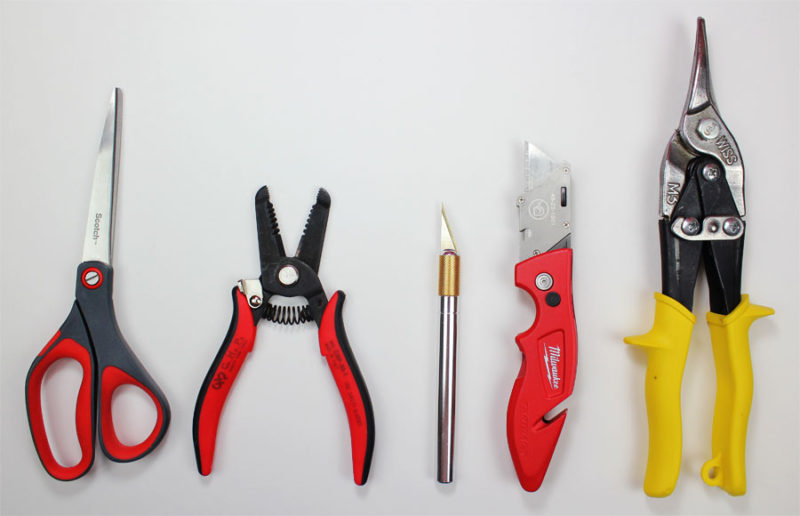
You don’t need a lot of tools for this project but you will need a few essentials.
- Tin Snips
- Razor Blade or Craft Knife
- Wire Strippers
- Scissors
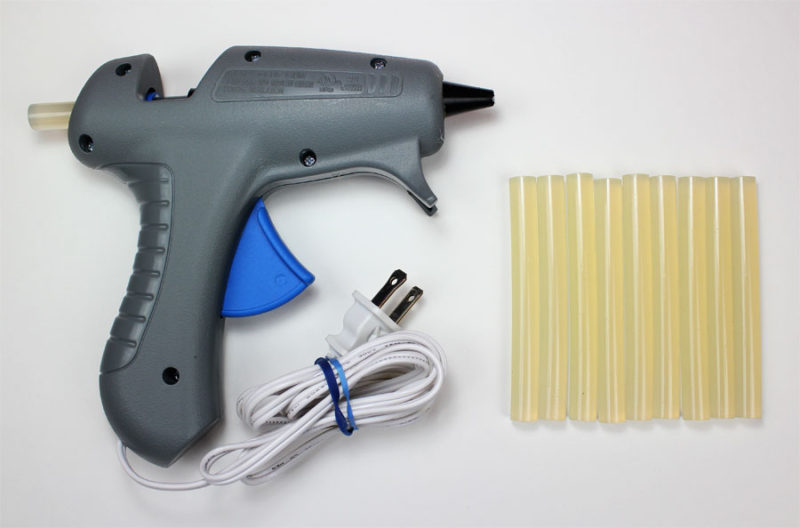
- Hot Glue Gun or Super Glue
Using a hot glue gun is recommended but you can also use Super Glue if you choose.
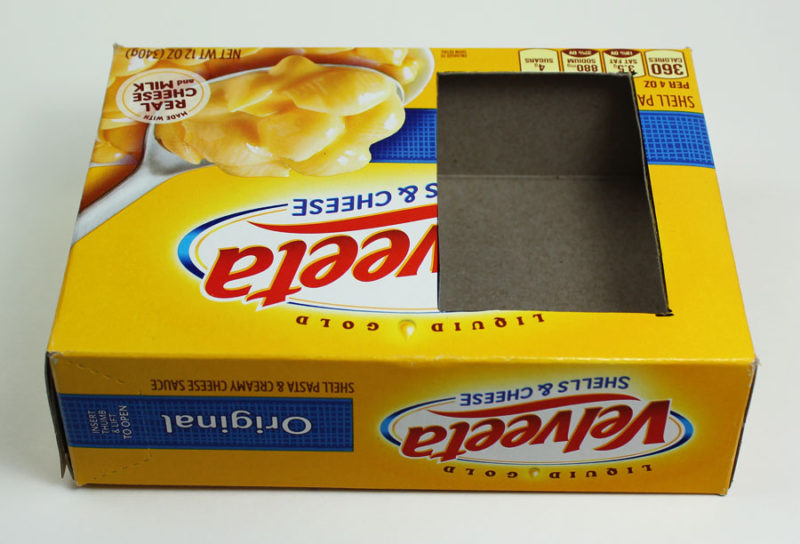
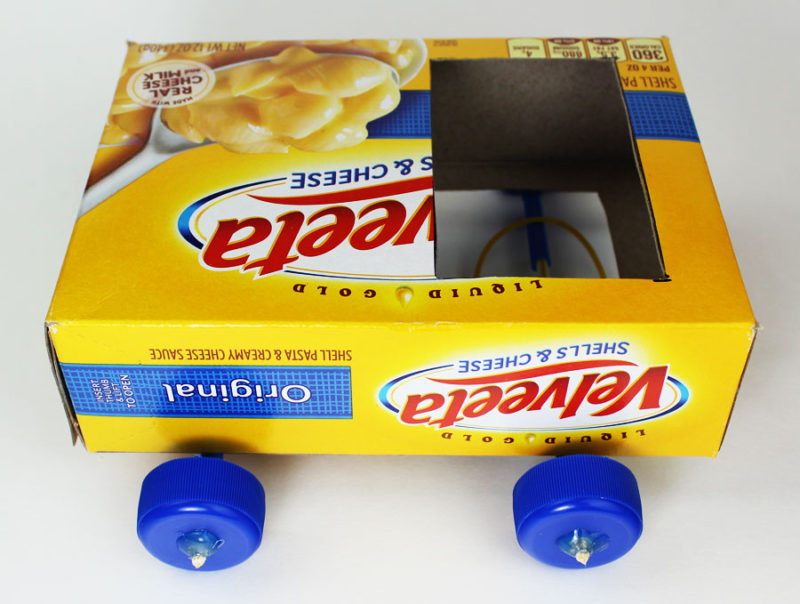
Step 1 – Cut The Top
Start by cutting an opening in the top of the box. For this particular box, our opening was 2 inches by 3 inches.
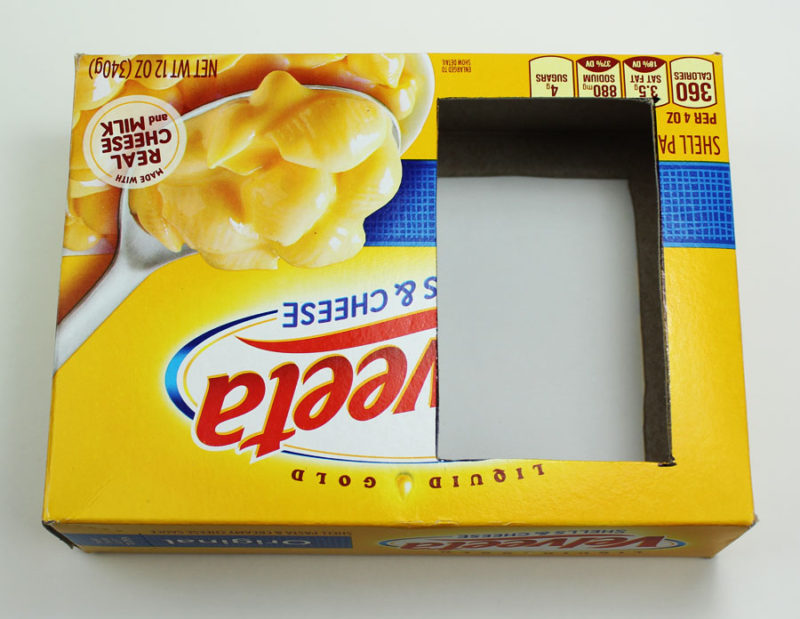
Step 2 – Cut The Bottom
Flip the box over and cut an identical opening on the bottom. Try using the piece you cut from the top as your template for the bottom.
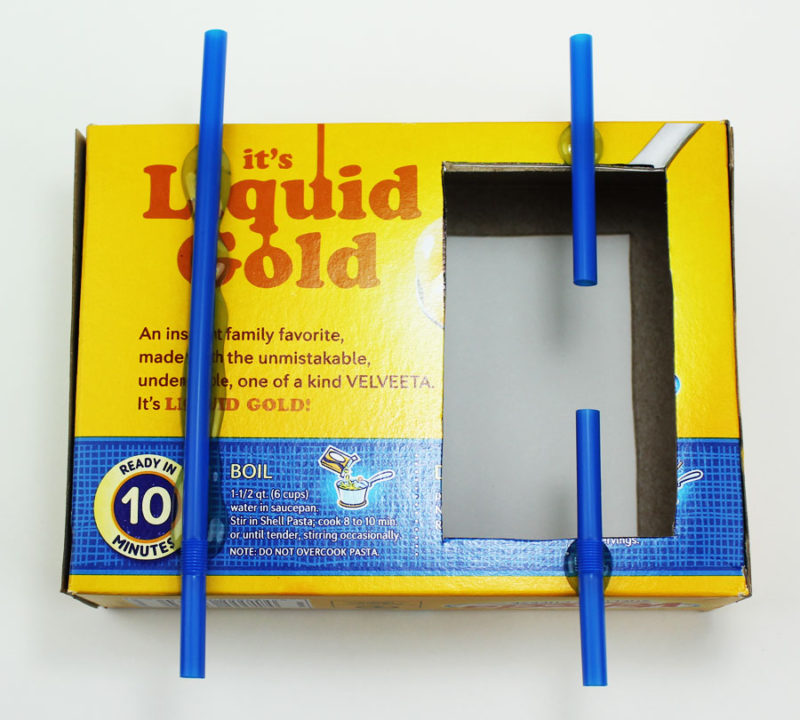
Step 3 – Add Straws
Glue two straws to the bottom of the box. Make sure the straws are as straight as possible when attaching them. The straws need to extend from the box about an inch on each side.
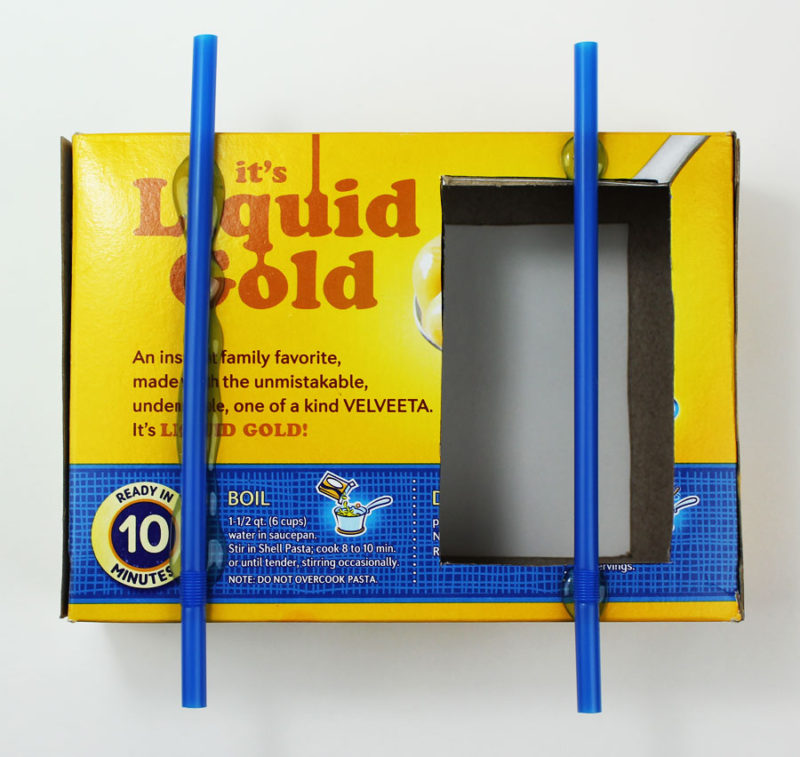
Once the glue has dried, cut a section from the middle of the front straw. This opening should be around 1 inch wide.
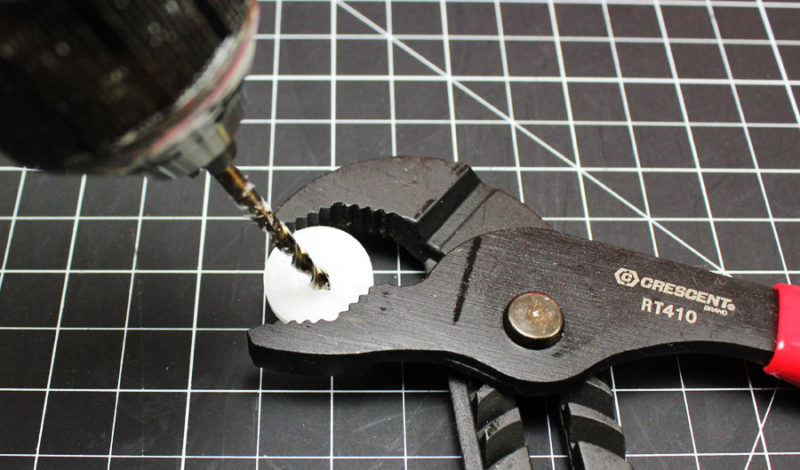
Step 4 – Drill The Pulley
For this project, you will need (2) pulleys and a rubber band. We used a 1/2 inch and 1 inch pulley along with a 2 inch rubber band.
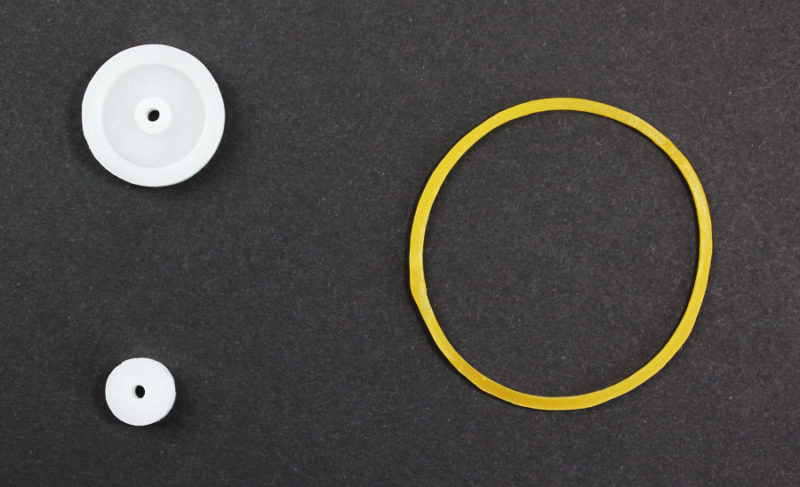
The small pulley goes on the motor shaft and shouldn’t need any adjustment. The large pulley however will need the center hole drilled out. Measure the diameter of the wooden skewer or dowel rod you are using as this is the size hole you will need to drill in the center of the pulley.
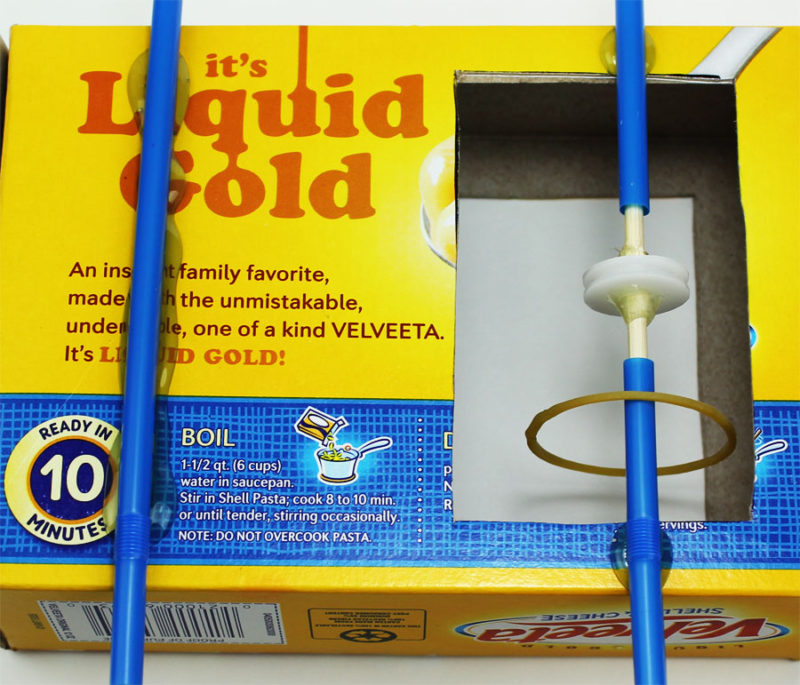
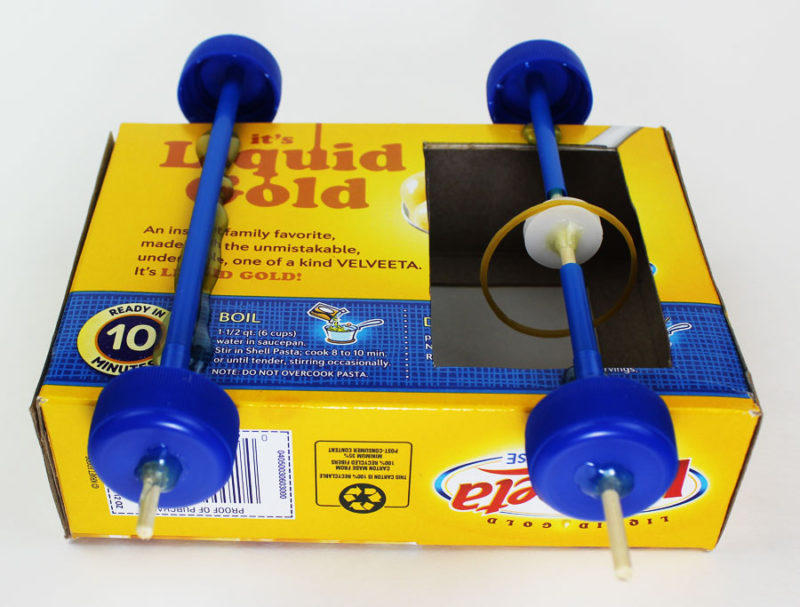
Step 5 – Complete The Axle
Place your rubber band on one side of the straw and let it hang there. Slide the wooden skewer through the straw and through the center of the large pulley. Once everything is in place, glue the pulley to the wooden axle.
Step 6 – Prep The Wheels
For the wheels, you can use alot of different recycled items. Here are a few examples of materials you can use for car wheels.
- Bottle Caps
- Bottoms of Bottles
- Bottoms of Cups
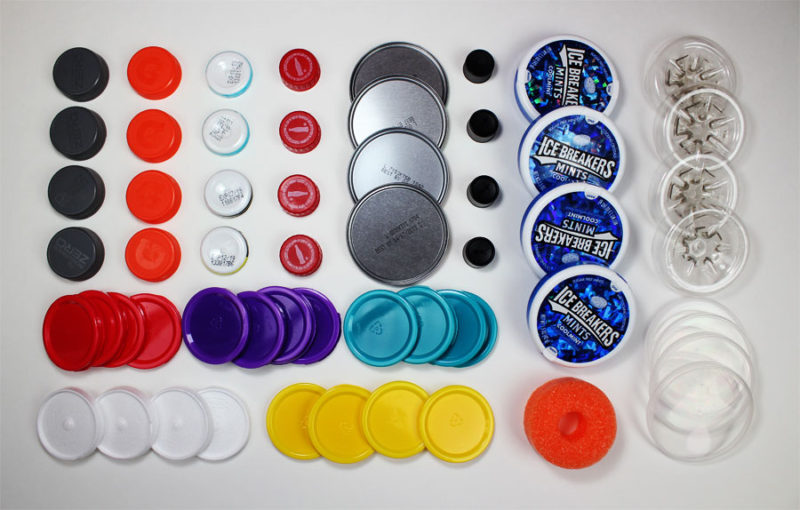
For this tutorial, we are going to use bottle caps from four water bottles.
Find the center of the cap and drill a hole the same size as you did for the large pulley. The wooden skewer/dowel rod needs to fit in the hole.

Step 7 – Attach The Wheels
Slide the wooden skewer/dowel rod into the hole of the bottle cap. Apply glue to the end in order to secure the cap to the wooden axle. It may take a minute for the hot glue to firm up. Make sure you hold the bottle cap straight and vertical while the glue dries.
Repeat this for all four of the wheels. Once everything is dried, you can snip off the end of the wooden axle with tin snips or something similar.
IMPORTANT – Make sure to wear eye protection when doing any cutting.
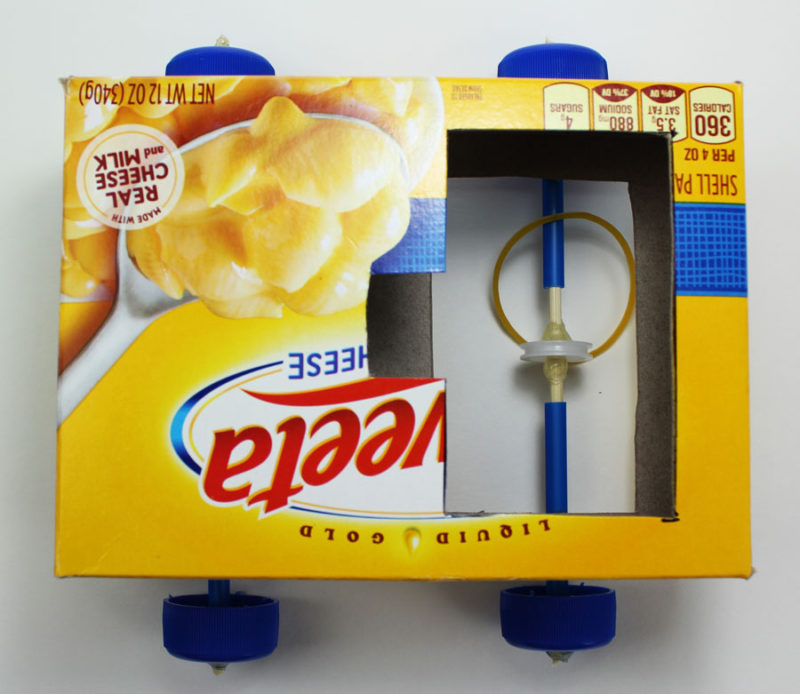
Step 8 – Cut Pulley Notch
Cut a small notch out of the middle of the box where the axle pulley is located. This notch will allow the motor pulley to function properly.
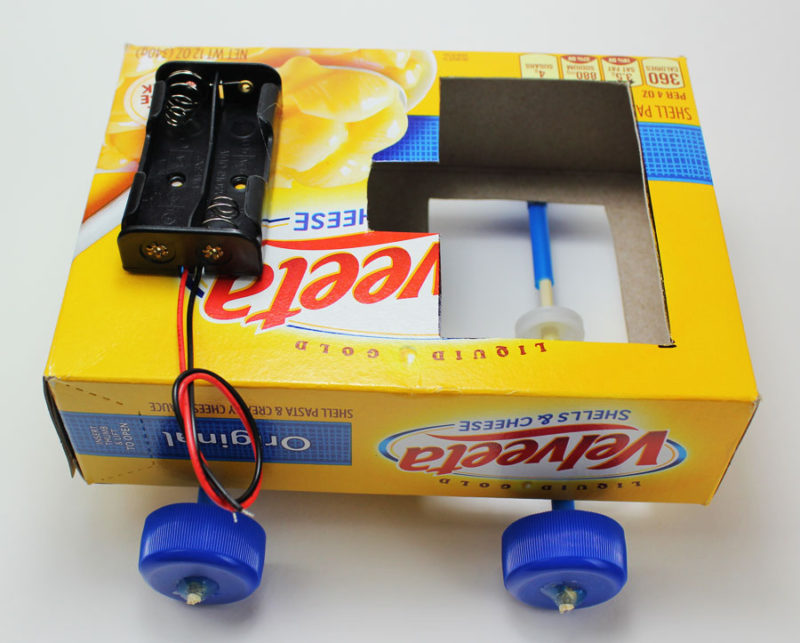
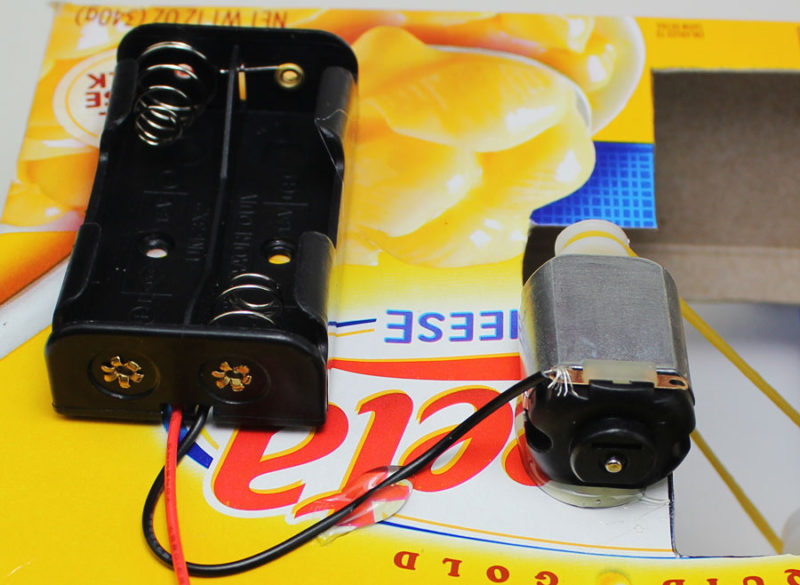
Step 9 – Battery Holder
Glue the battery holder to the box.
Step 10 – Secure Pulley To Motor
Push the smaller pulley onto the shaft of the DC motor.
Step 11 – Attach Motor
Place the rubber band around both the motor and axle pulley. Make sure the rubber band is straight and then glue the motor to the box. Make sure the motor’s terminals are on top and are visible.
You may need to reinforce the box below where the motor is mounted. In our case, the box was a little flimsy so we glued a Popsicle stick underneath.
Step 12 – Connect The Wiring
Strip the end of the black wire and twist it as best as possible. Insert the end of the black wire into one of the terminals on the motor and twist it to secure.
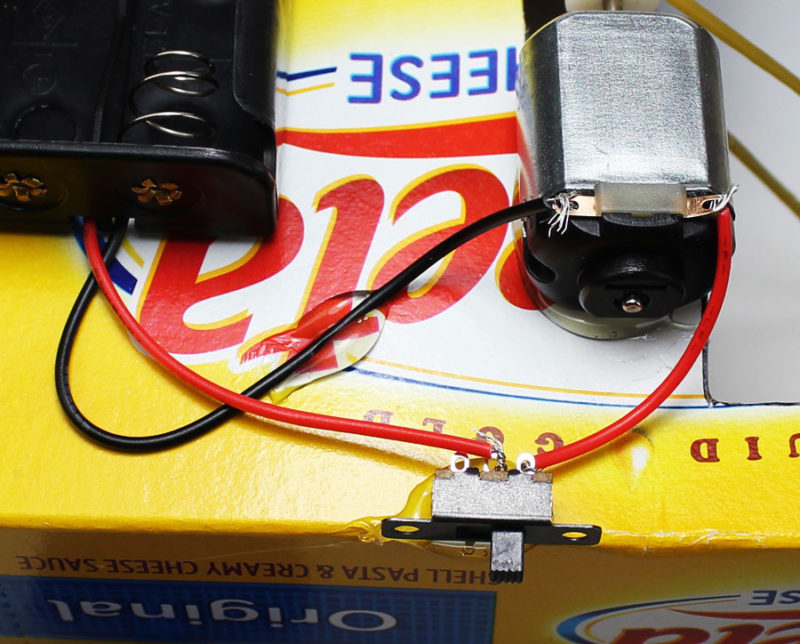
Step 13 – Connect The Switch
Strip the end of the red wire and insert it into the other terminal on the motor. Twist it in place to secure.
Cut the middle of the red wire and strip both ends. Connect the red wire from the battery holder to the middle of the slide switch and twist to secure.
Insert the red wire from the motor to one of the holes on the switch and twist to secure. Glue the switch to the box.
Step 14 – Add Batteries
Insert your AA batteries and slide the switch to turn on your car.
NOTE – You can reverse the direction that the motor spins by reversing the red and black wires on the terminals.
Complete !
Now it’s time to show off your car and race your friends.
Try building your next car with new materials for the body and wheels.
How can you make it go faster? Try experimenting with different designs.
Show us your project
Tweet us at @Makerspaces_com and show us what your car looks like.