Complete Step-by-Step Workbench Plans – Free PDF Ebook
Makerspace Workbench
We’re always creating something at our Makerspaces.com office and just recently we ran out of work space. Instead of just going out and buying a workbench, we decided to build one and share the plans so you can build one too.
Making your own workbench offers a few advantages over buying one from the store. First, you will be able to customize the bench to your specific needs, requirements and space constraints. You can make it as long, high, wide, flashy or simple as you want. And the best part is you will save a ton of money, learn something new and have the gratification of doing it yourself.
Ok, let’s make a makerspace workbench !
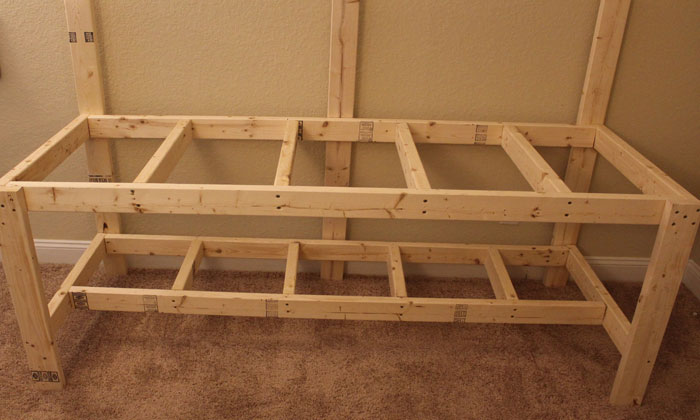
Build The Base
To start, we need to construct the skeleton of the workbench which will form the base structure. In this tutorial, we will provide the exact measurements needed to replicate the workbench that we built but feel free to alter the dimensions to meet your needs.
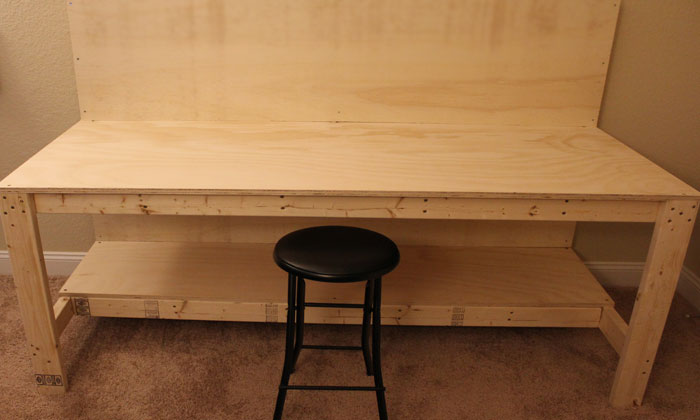
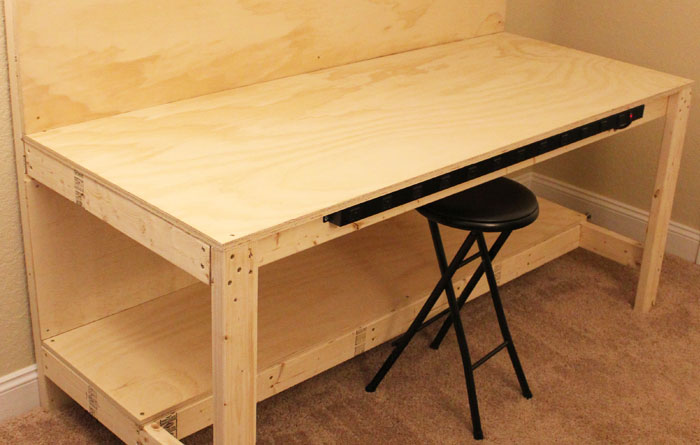
One alteration you might want to consider is adjusting the working height with respect to who will be using it. Elementary school students would need a shorter bench vs high school or adults. Also, do you prefer to stand or sit? Our workbench was designed for sitting and has a finished working height of 31.5″ which is perfect for our work stool which is 24″ tall. The fact that we were able to customize this to our needs highlights why we love building vs buying.
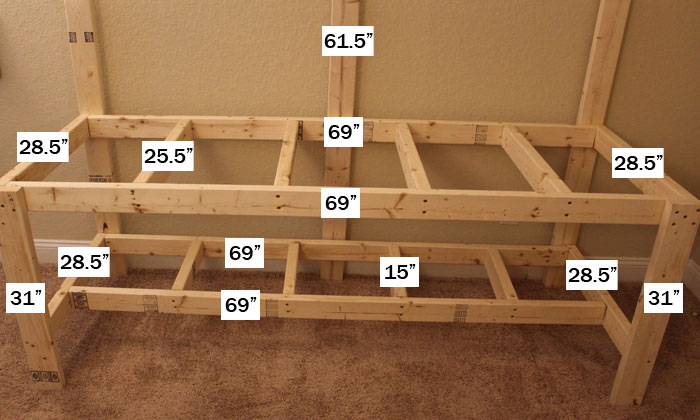
Cut Sizes Needed:
All pieces below are standard 2×4 whitewood. When making alterations, note that 2×4’s don’t measure 2 inch by 4 inch anymore and are actually 1.5 inch x 3.5 inch.
- 3 pieces – 61.5″ each
- 4 pieces – 69″ each
- 4 pieces – 28.5″ each
- 4 pieces – 25.5″ each
- 4 pieces – 15″ each
- 2 pieces – 31″ each
You should be able to get these cuts out of (11) 2×4’s
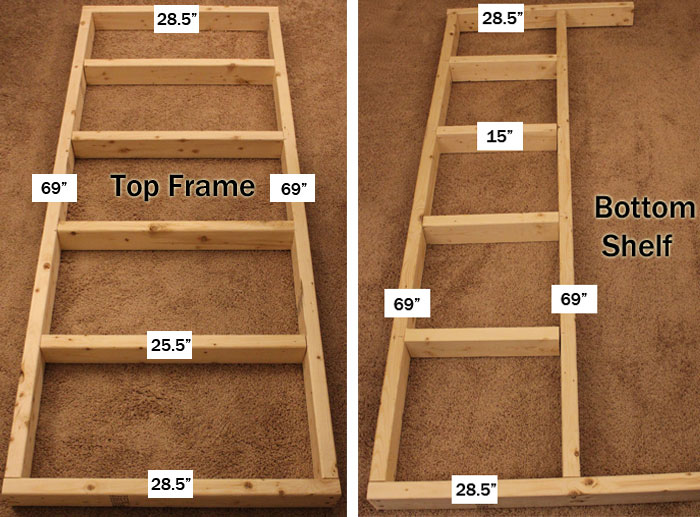
Build the top frame and bottom shelf as outlined and connect the 2×4 pieces using 3 inch #10 construction screws.
Next, attach the legs (31″ front and 61.5″ back) to the top frame with 3 inch #10 construction screws.
Last step for the base is attaching the bottom shelf. Screw the shelf to the legs about 5″ up from the bottom.
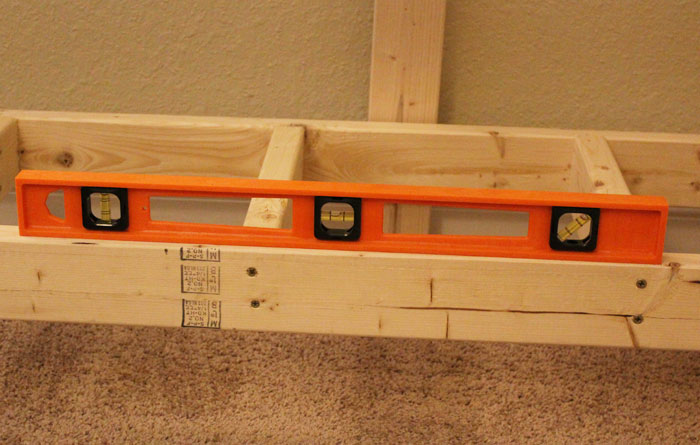
Make sure to use a level and a carpenter’s square so everything is square and level. The goal is to place a marble on the finished bench without it rolling.
Add The Plywood
Now that the 2×4’s are connected, it’s time to add the plywood to the top frame and bottom shelf.
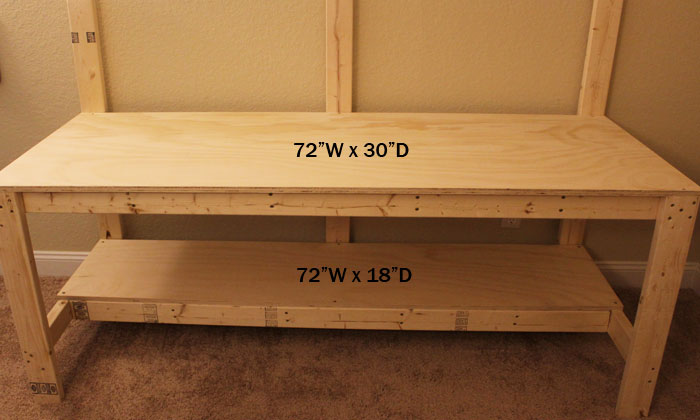
You will need (1) sheet of 3/4″ sanded plywood (or similar). For the top frame, cut the plywood to 72″W x 30″D. For the bottom shelf, cut the plywood to 72″W x 18″D. Screw the plywood to the 2×4’s using 2 inch #10 construction screws.
After the horizontal pieces of plywood are secured, go ahead and attach the back panels to the frame.
You will need (1) sheet of 1/2″ or 3/4″ sanded plywood. For the top section, you will need a piece that measures 72″ W x 30″H. Screw it in place using 2″ screws.
The bottom back piece needs to measure 72″ W x 18″ H. Screw it in place using 2″ screws as well.
The following sections will cover optional items that you can add to your workbench as we did in our case.
Add A Shelf
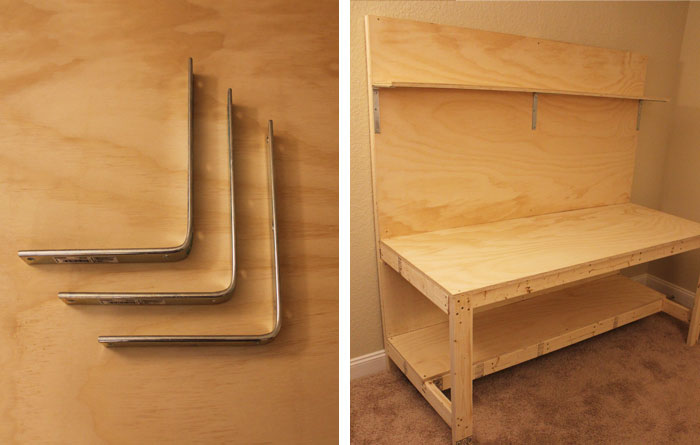
One of the reasons we added a back panel to the workbench was in order to hang a shelf. The shelf is pretty straight forward and consists of a 1″x 8″x 72″ piece of plywood mounted using (3) 8″ x 8″ brackets. When it comes to placement, it’s really personal preference on where to mount it. We have ours located at 10″ down from the top of the back panel.
Add Electrical Outlets
You can never have enough power ! That’s why we added a 48″ metal power strip ($24 from Harbor Freight) that has 12 electrical outlets and a surge protector built in. We used a 1″ spade wood bit to open a hole for the plug to go thru. The power strip plug then went out the back of the workbench to the wall outlet.
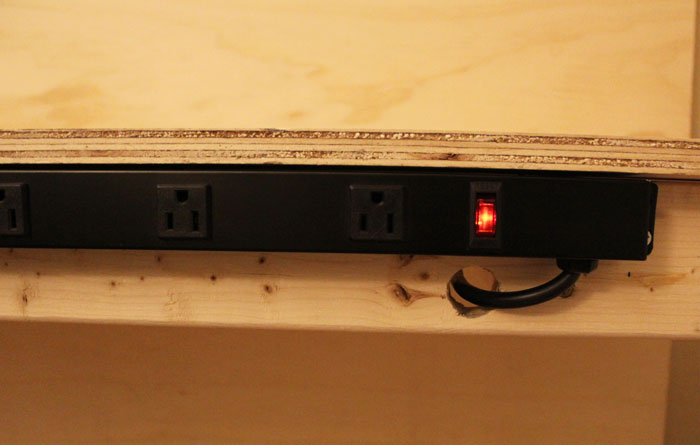
The power strip can be located at the front rail as shown or on the back panel.
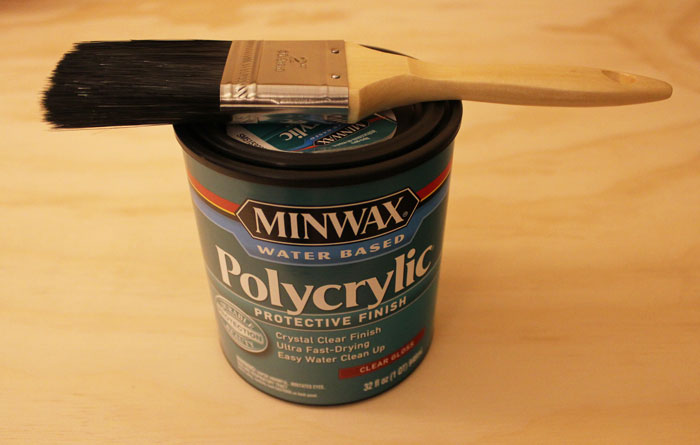
Add A Protective Finish
After you finish building your makerspace workbench, you should think about protecting it. Adding a sealant to your work surface will help protect the wood from scrapes, scratches and spills. You can find a wide range of sealants to use for this project from the Tradefix website. Having a protective topcoat will also make it easier to clean the surface after a project is over.
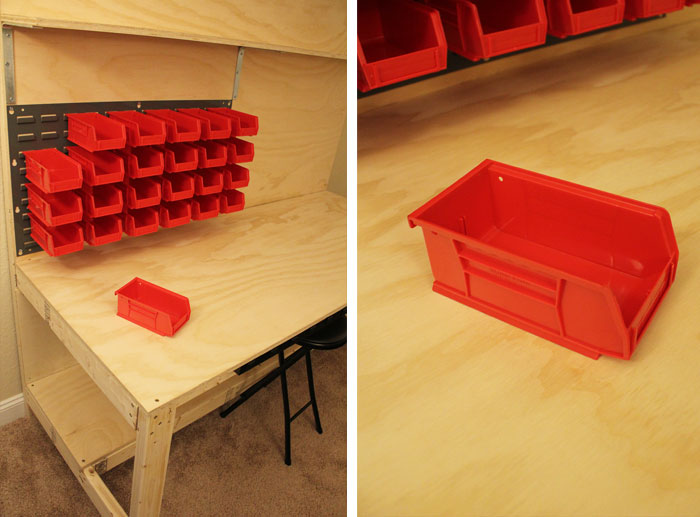
Add Storage Bins
Keeping makerspace materials organized is one of the biggest concerns we hear about. One way to help with storage is to use these plastic bins from ULINE that hang from a wall or bench mounted rack.
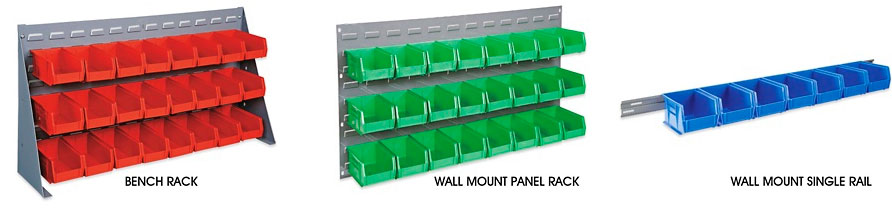
These bin racks come in a few sizes and can range from 18″w x 19″ h to 36″w x 19″h. These racks hold about 24 bins which is great for storing nuts, bolts, craft supplies and countless other materials.
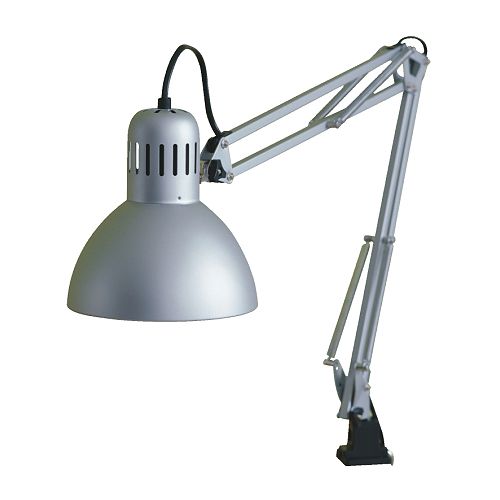
Add A Task Light
Another item worth adding to your workbench is some sort of task lighting. We got this adjustable light at IKEA for about $15 and it works great at directing the light where you need it.
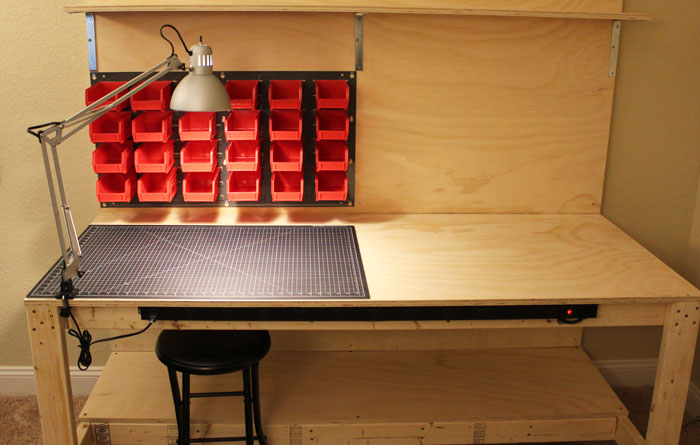
Fully Loaded !
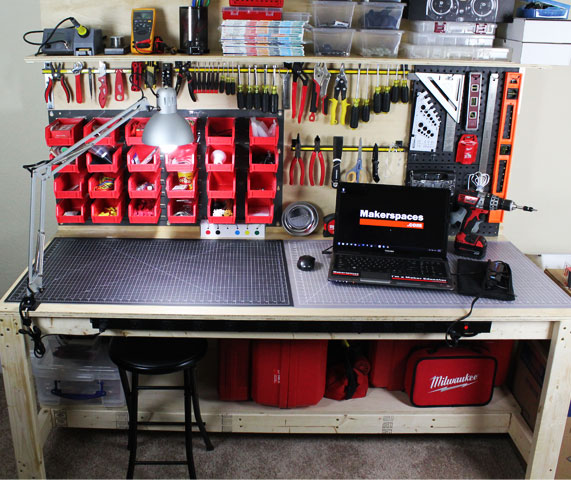
We would love to see your workbenches and how your makerspace is set up. Tweet us @Makerspaces_com so we can share your photos with our maker network.
Complete Step-by-Step Workbench Plans – Free PDF Ebook