Project Time: 30-45 minutes
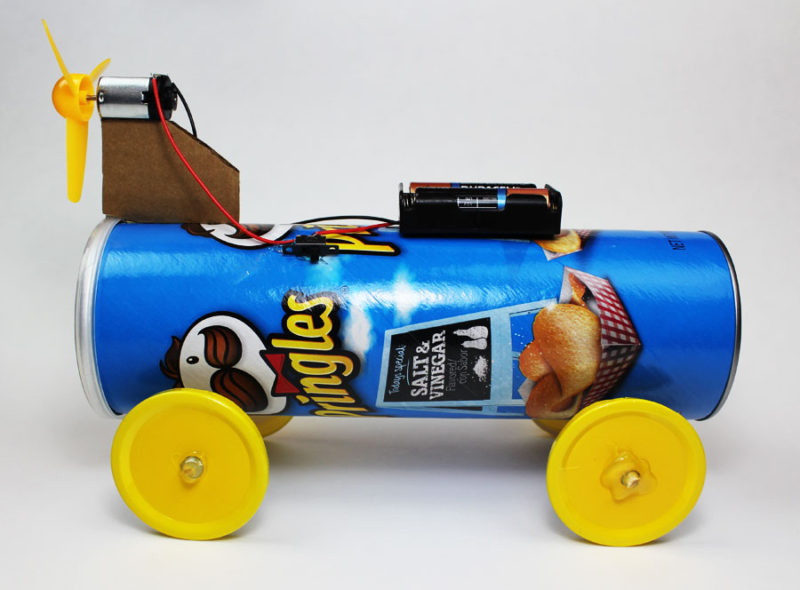
Making a battery powered propeller car is super fun and can be done pretty easily. You can use everyday materials to create your car body including a Pringles can as we’re doing in this tutorial.
These projects are a great way to get creative while learning how to build a simple circuit that powers a DC motor.
Once you’ve mastered the basics of a propeller car, you can experiment with new materials and different designs. Race your friends and become a propeller car champion!
Materials Needed
The best thing about this project is you don’t need to buy a lot of parts to build this car. You can recycle and re-purpose cardboard, boxes, bottles and in this case a Pringles can.
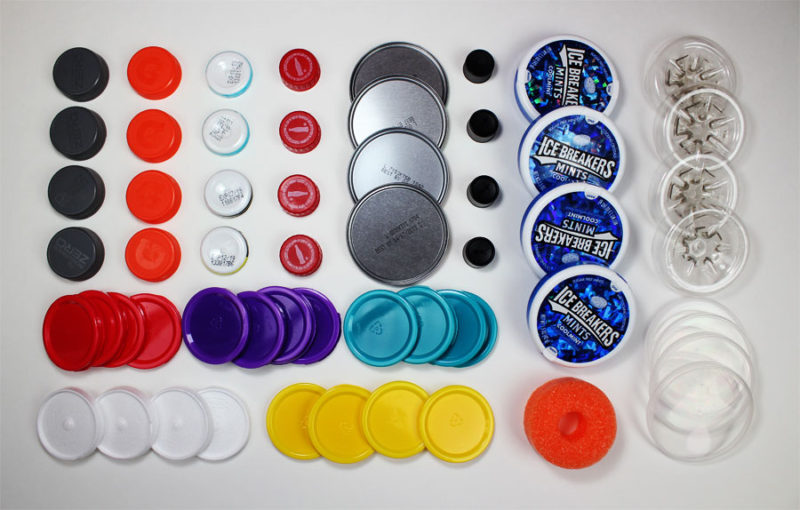
Shown below are some other materials that you can use for the car body.
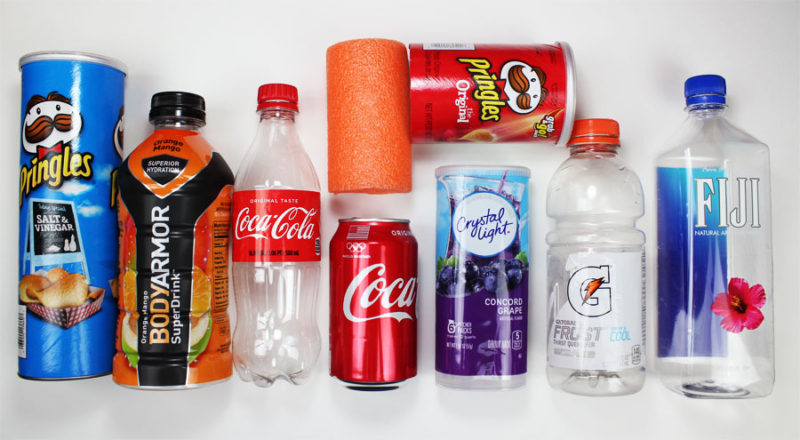
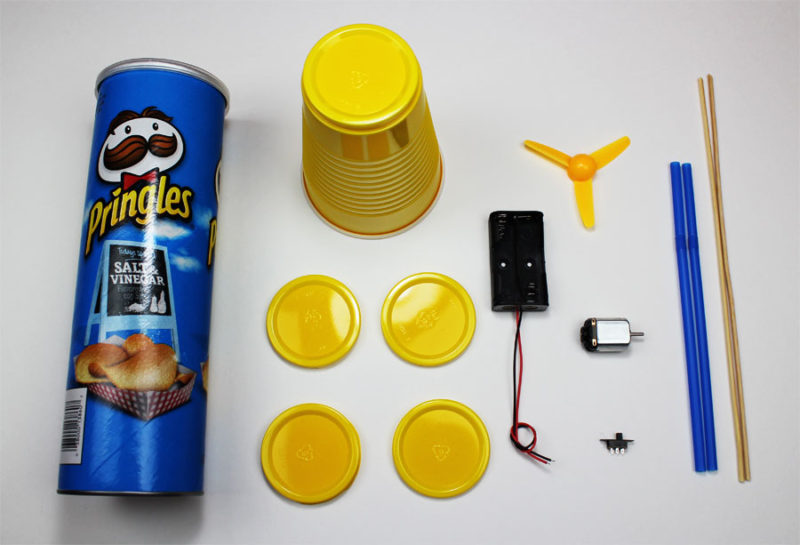
In addition to the Pringles can, you will also need the following:
- Plastic Cup
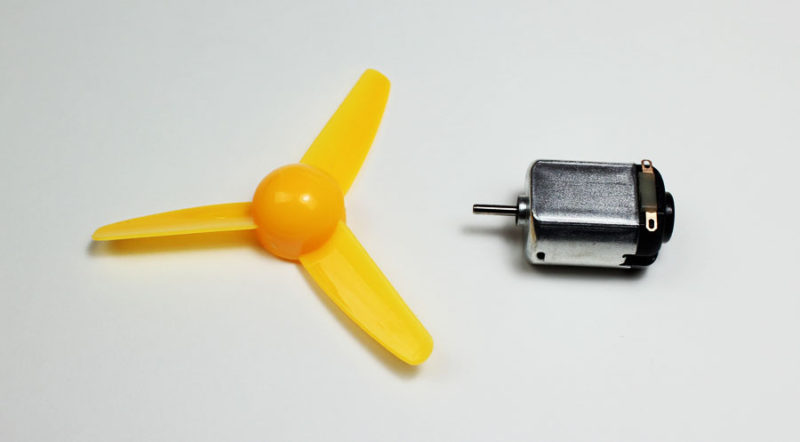
- Propeller
- Motor
- Battery Holder
- AA Batteries
- Slide Switch
- Straws
- Wood Skewers / Dowel Rod
Tools Needed
You don’t need a lot of tools for this project but you will need a few essentials.
- Tin Snips
- Razor Blade or Craft Knife
- Wire Strippers
- Scissors
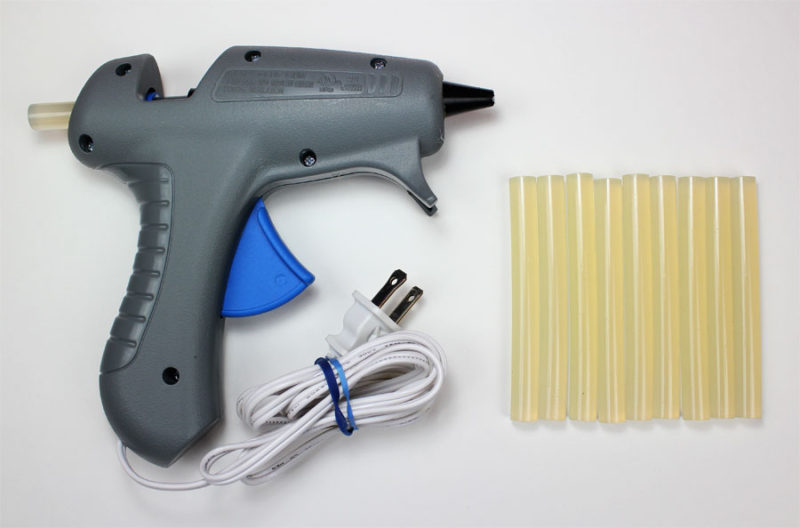
- Hot Glue Gun or Super Glue
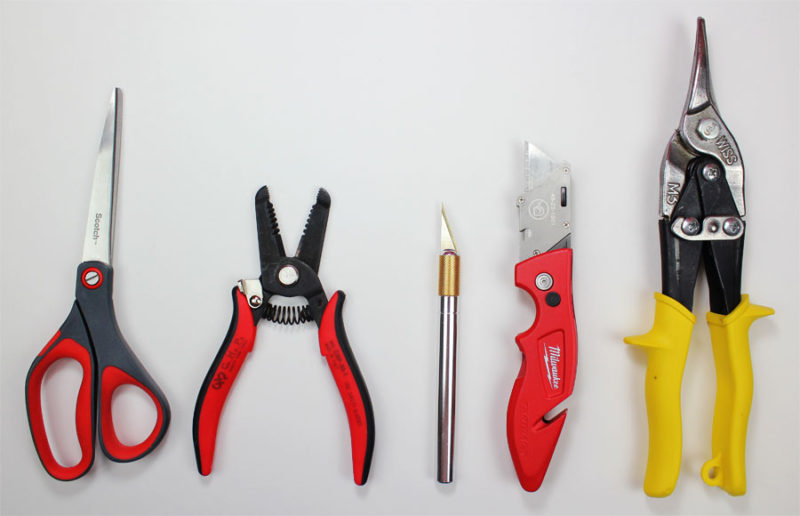
Using a hot glue gun is recommended but you can also use Super Glue if you choose.
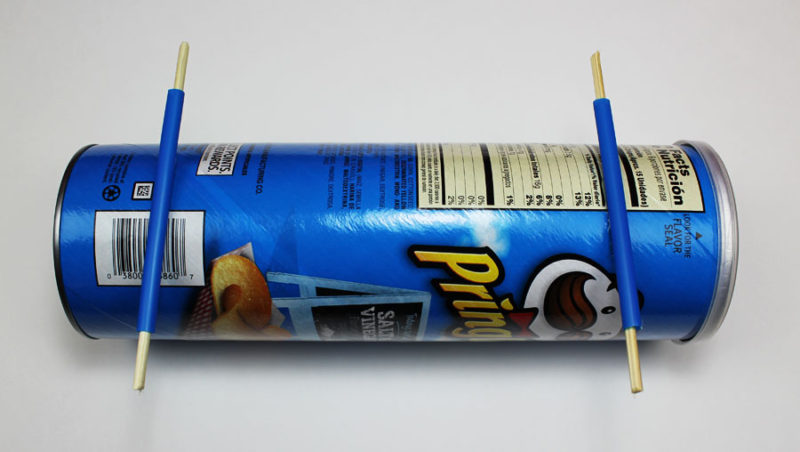
Step 1 – Mount The Axle
To create an axle for your car, you will need to cut two straws wider than the Pringles can. Glue the straws to the can and then insert the dowel rods or skewers.
Step 2 – Create The Wheels
There are countless materials you can use for the propeller car wheels. As long as it’s round it should work. Below are a few examples of what you could use for wheels.
- Gatorade Caps
- Soda Bottle Caps
- Plastic Cup Bottoms
- Sport Drink Bottoms
- Foam Cup Bottoms
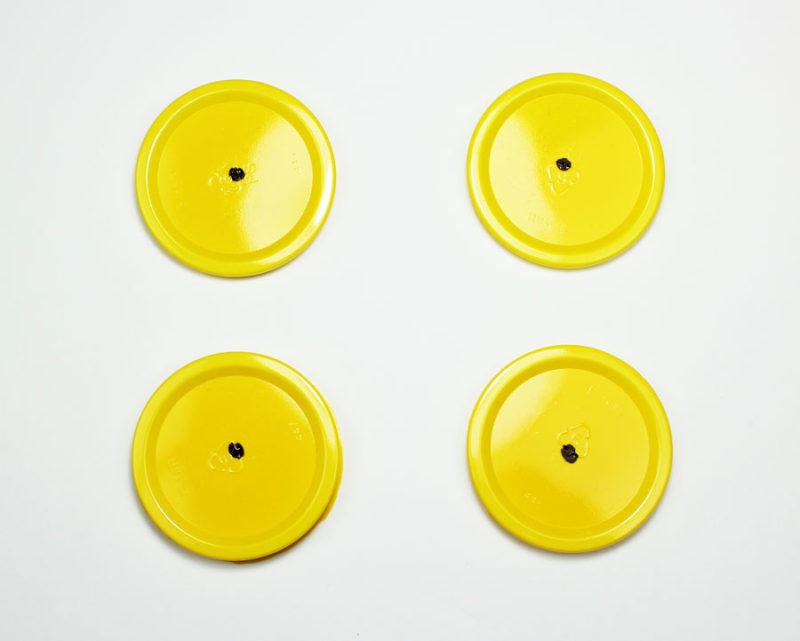
For this Pringles can propeller car we are going to use plastic cups for the wheels. Using a knife or scissors, cut the bottom of the cup off.

Mark the center of the “wheel” with a sharpie or marker. Use a drill or razor blade to cut a small hole in the center. Make sure the hole is a little smaller than the axle diameter so it is a tight fit.
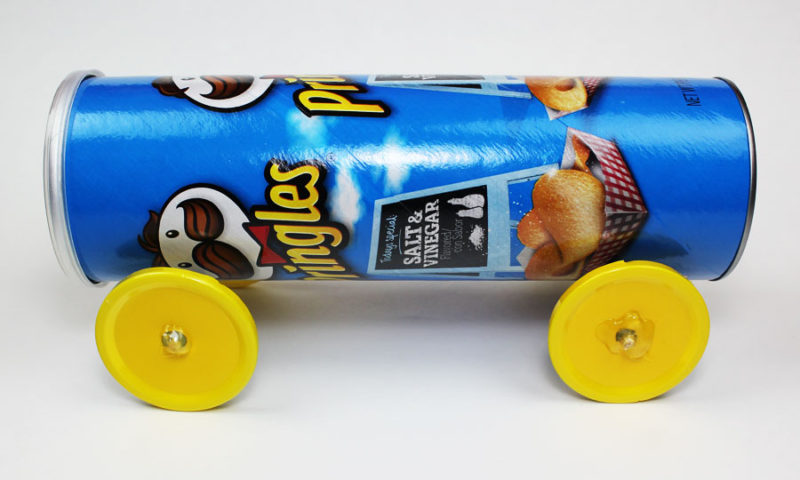
Step 3 – Mount The Wheels
Push the skewers or dowel rod through the center of the wheel. If the connection is loose, you will need to add a dab of hot glue to secure it. While you are waiting for the glue to cool, make sure the wheels are as straight as possible.
Test to make sure the car can roll without any issues.
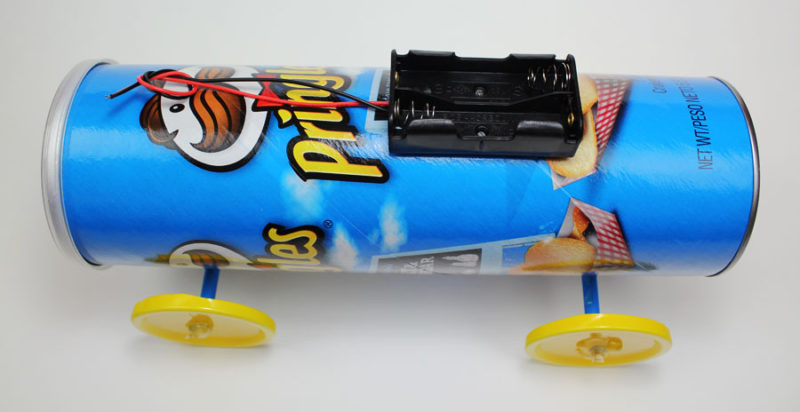
Step 4 – Battery Holder
Mount the battery holder to the center of the Pringles can using hot glue. Make sure the wire from the battery holder can reach the end of the can.
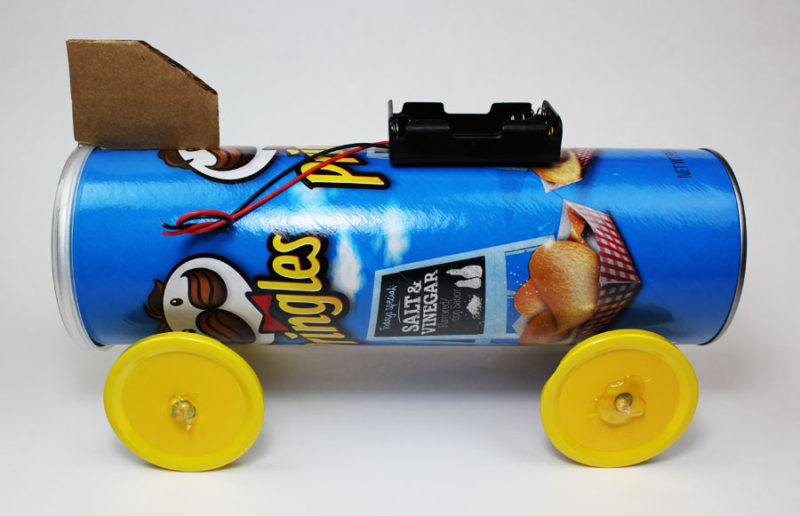
Step 5 – Propeller Platform
Cut two pieces of cardboard and glue them together. Mount this to the rear end of your propeller car.
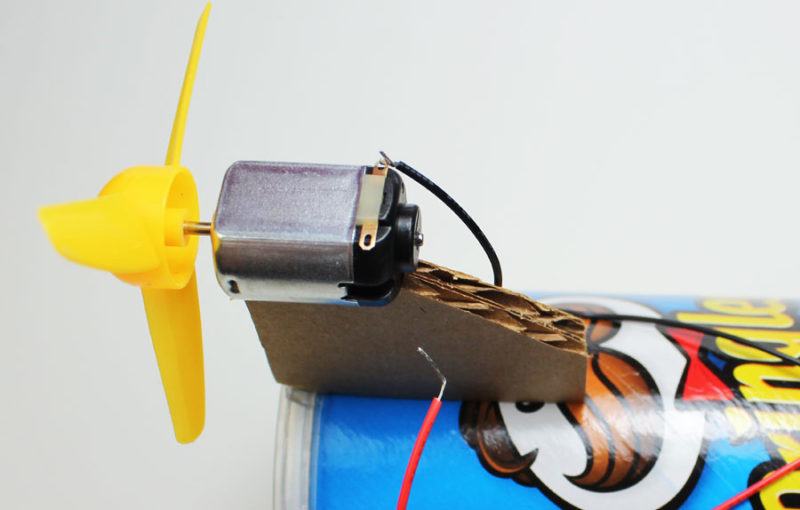
Step 6 – Propeller
Connect the propeller to the shaft of the dc motor.
Step 7 – Mount The Motor
Glue the center of the motor to the cardboard platform. Make sure the terminals of the motor are on top and visible.
TIP – If you want to reuse the motor after this project consider mounting it with zip ties instead of hot glue.
Step 8 – Wire The Motor
The first thing we’re going to do is a test. Add batteries to the battery holder and then touch the black wire to one terminal on the motor and the red wire to the other. The propeller should start spinning.
Verify the propeller is pushing air away from the motor. If air is going toward the battery holder then you need to reverse your wires.
Push the black wire through the proper terminal and twist it a few times to secure. Don’t connect the red at this point.
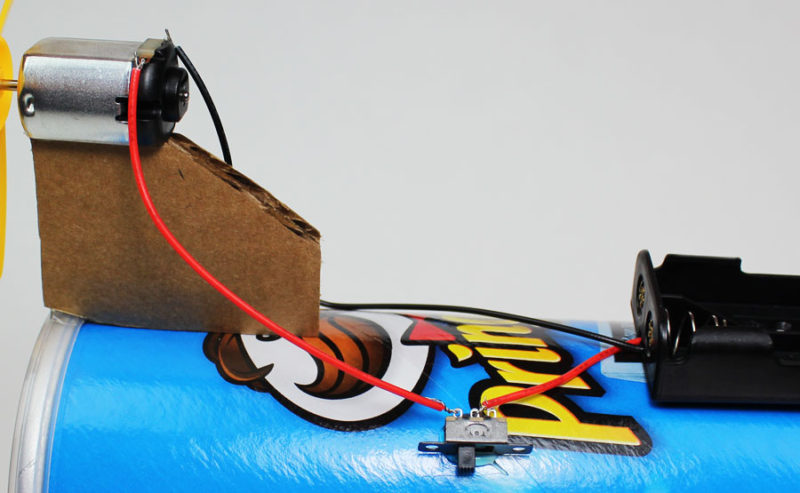
Step 9 – Connect The Switch
Cut the red wire from the battery holder in half and strip the end. Push the stripped wire into the middle hole of the switch and twist a few times to secure.
Take the other half of the red wire and strip both ends of it. Push one end of the red wire into the outer hole of the switch and twist to secure. Twist the other end of the red wire to the open terminal on the motor.
Glue the switch to the can.
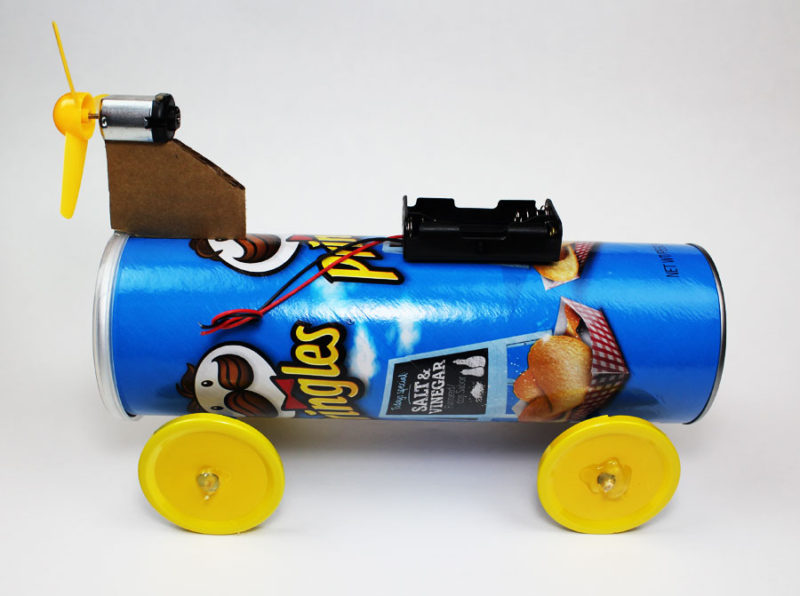
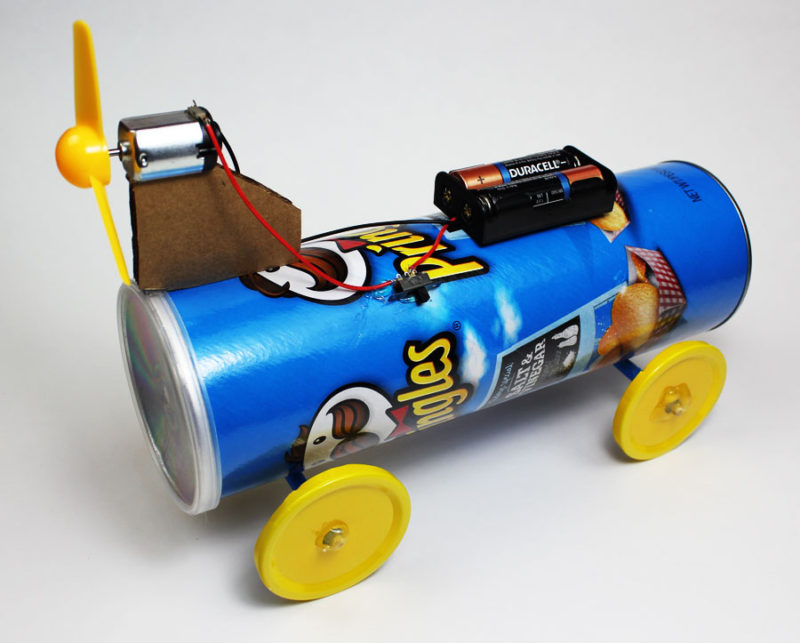
Propeller Car Complete !
All that is left to do is to add batteries and flip the switch. You just created a propeller car from a can of Pringles. Great job !
Try creating new versions of your car using different materials and designs. See what changes are needed to make the car go faster.
Show us your project
Tweet us at @Makerspaces_com and show us your propeller car.